Workspace Operations
This topic describes how to manage workspaces in EGS. You can create a workspace for an individual user or team in your organization based on the requirements.
Overview
A workspace is a logical boundary for a user or a team workspace. The workspace can be viewed as the workspace where users can deploy their AI workloads. A workspace can span multiple clusters, and the clusters can be located in different regions.
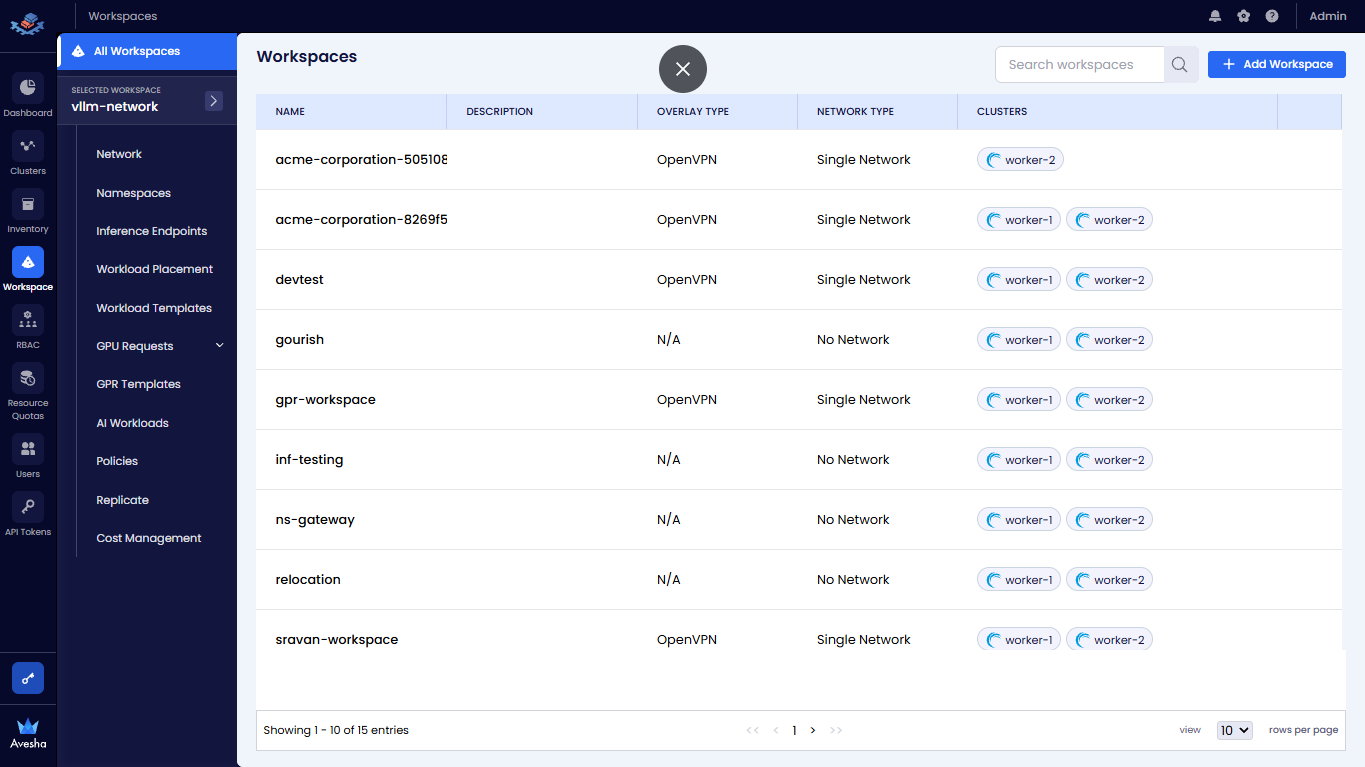
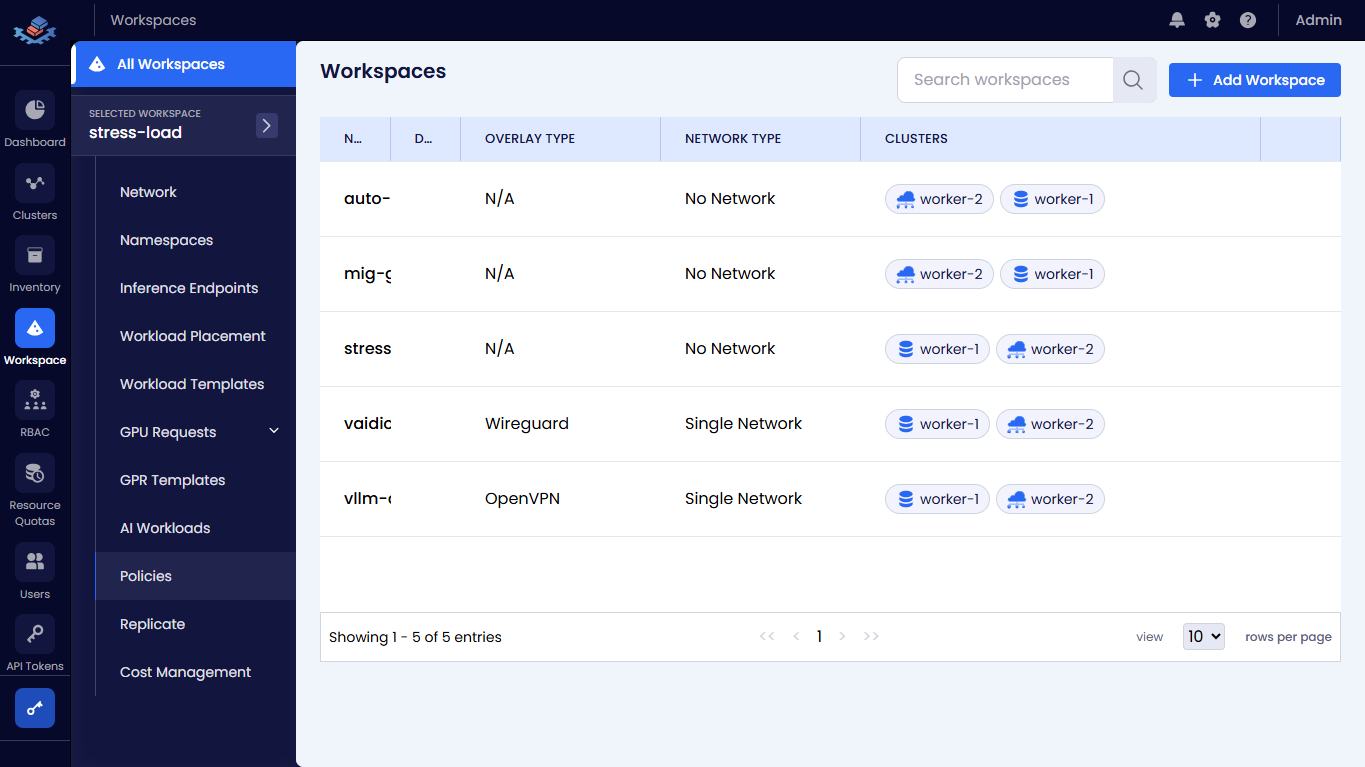
On the Portal, the Workspace page provides operations for viewing, organizing, configuring, and managing all workspaces in a multi-cluster environment.
Under Workspaces, a nested submenu appears showing:
- All Workspaces (selected)
- Current selected workspace context which allows navigation to workspace-specific resources:
- Network
- Namespaces
- Inference Endpoints
- GPU Requests
- Priority Queue
- GPR Templates
- AI Workloads
- Policies
- Replicate
- Cost Management
Create a Workspace
-
Go to Workspace on the left sidebar.
-
Under All Workspaces, click the + Add Workspace button on the top right.
-
On the Add Workspace panel, under the Details tab, enter the following information:
- Add a name for the workspace in the Name text box. For example,
my-workspaceis the name of the workspace. - Select the workspace overlay network type from the Network Type text box.
The available network types are:
- No Network: Select this option if your distributed applications do not require extended-cluster communication.
- Single Network: Select this option if your applications benefit from communication through a dedicated overlay network.
- Add a name for the workspace in the Name text box. For example,
-
If you select
No Networkfrom the Network type drop-down list, you can skip the Subnet and QoS configuration.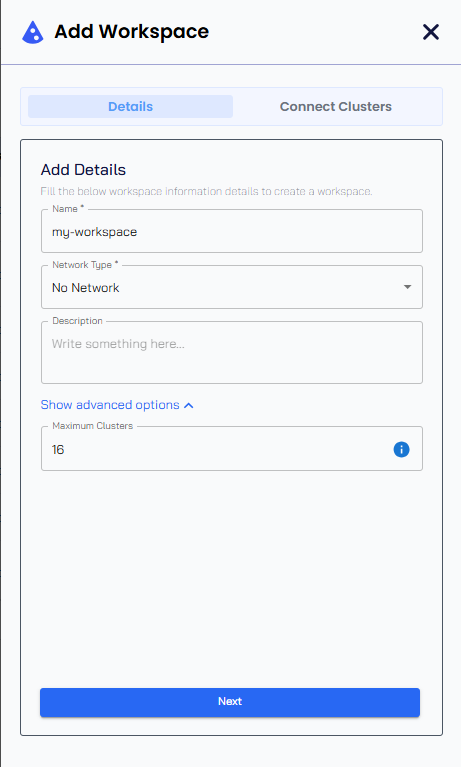
-
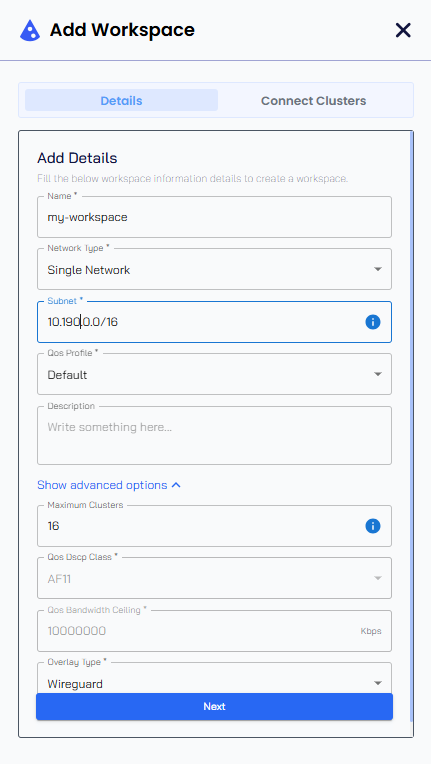
If you select
Single Networkyou must:- Enter the workspace subnet in the Subnet text box.
- Select the QoS profile from the drop-down list.
- For Default QoS, the QoS Dscp Class is AF11, and the QoS Bandwidth ceiling is
10000000 Kbps (10Gbps). The default values are immutable. - For Custom QoS, you must enter the QoS Dscp Class and QoS Bandwidth ceiling values in the Show advanced options section.
- For Default QoS, the QoS Dscp Class is AF11, and the QoS Bandwidth ceiling is
-
(Optional) Add the description to define the workspace in the Description text box.
-
Expand the Show advanced options section and enter the following information:
- Enter the maximum number of clusters to connect to this workspace in the Maximum Clusters text box. The minimum value is
2, and the maximum value is32. The default value is16. - For Custom QoS, enter DSCP class for the workspace traffic in the QoS Dscp Class text box and enter the maximum bandwidth in Kbps allowed for the workspace traffic in the QoS Bandwidth ceiling text box.
- Select the Overlay Type from the drop-down list. The available gateway types are:
- OpenVPN: This is the default gateway type.
- WireGuard: This is a modern, high-performance VPN that utilizes state-of-the-art cryptography. It is designed to be faster and simpler than traditional VPNs like OpenVPN and IPsec.
- Enter the maximum number of clusters to connect to this workspace in the Maximum Clusters text box. The minimum value is
-
Click Next.
-
To connect your cluster to your workspace that is being created, click the + sign against the cluster.
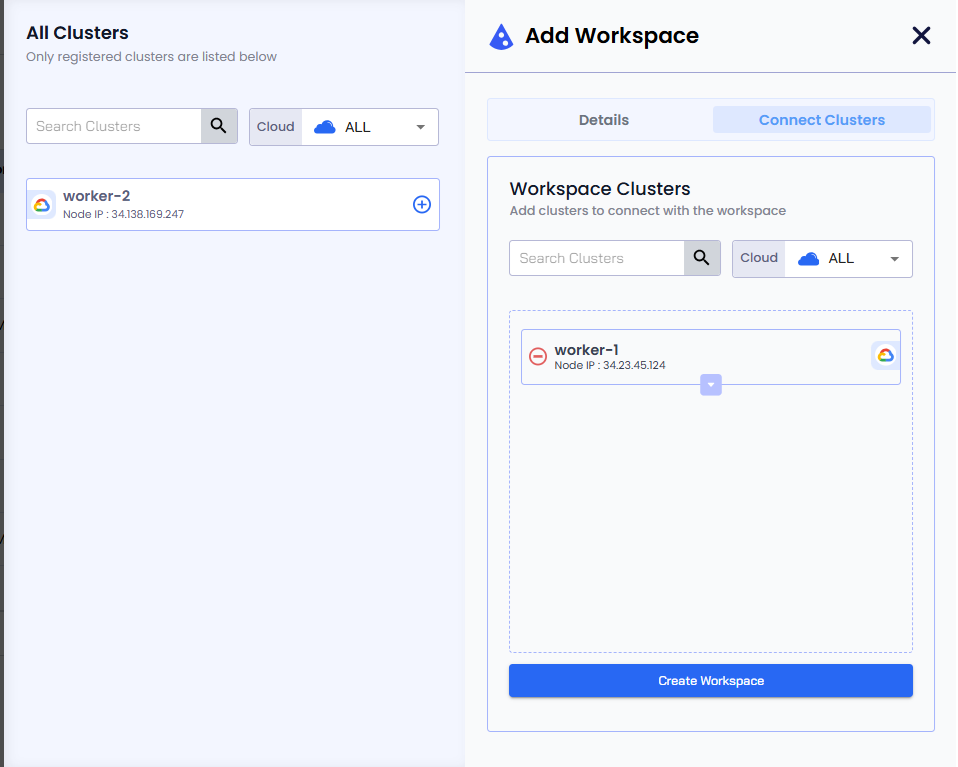
-
Click the Create Workspace button to complete the workspace setup.
After creating the workspace, you can see the newly created workspace in the Workspaces page. The workspace policies are created automatically based on the workspace configuration.
View Workspaces
To view all the workspaces:
-
Go to Workspace on the left sidebar.
-
Select All Workspaces on the top left to view all the workspaces created in your organization.
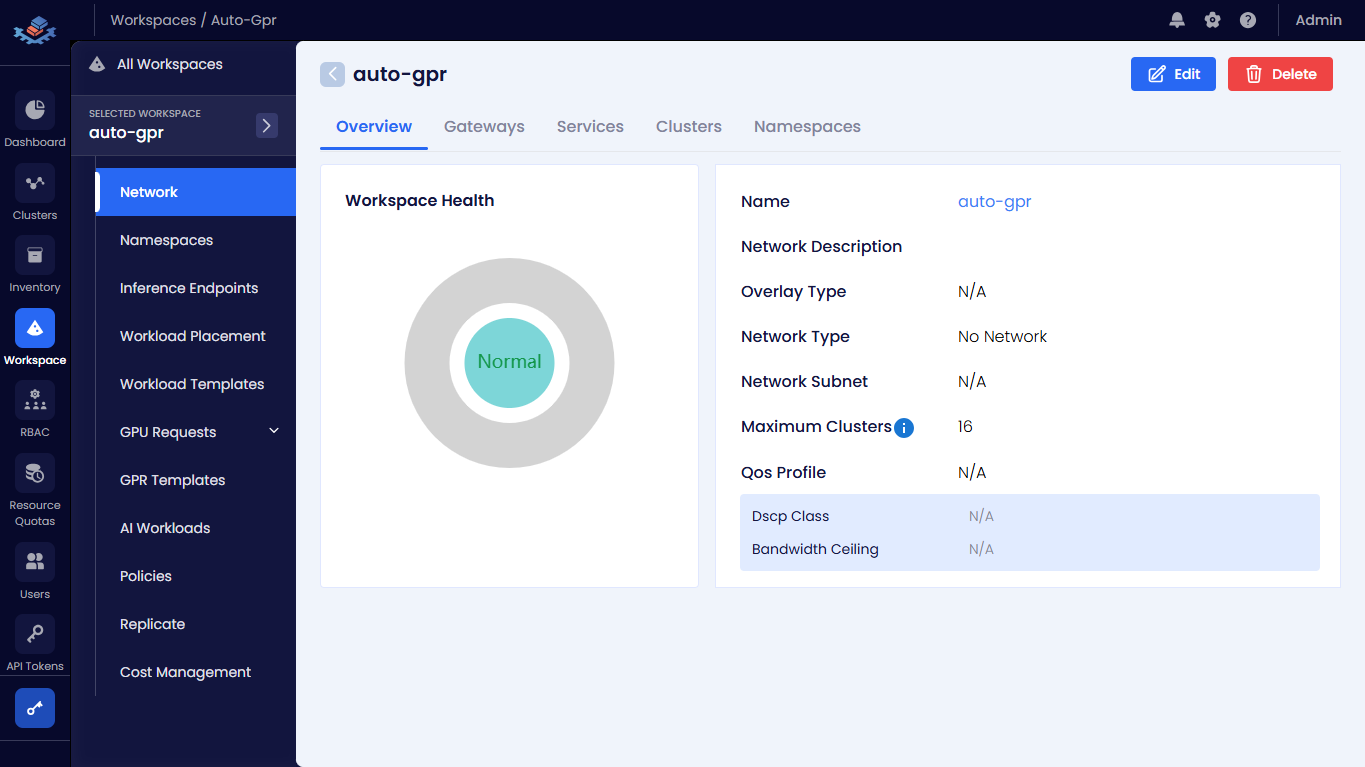
View Workspace Details
To view the details of a specific workspace:
-
On the Workspaces page, select the workspace you want to view.
-
On the selected workspace page, you see the following menus to view the workspace details:
-
Network:
Overviewis the default page that shows the workspace network details, including the workspace name, description, network type, subnet, QoS configuration, and connected clusters. This page shows the network health of the workspace. For more information, see the View the Workspace Network Health section below. -
Namespaces: This page shows all namespaces onboarded onto the workspace. For more information, see Manage Namespaces.
-
Inference Endpoints: This page shows all inference endpoints deployed in the workspace. For more information, see Manage Inference Endpoints.
-
Workload Placement: This page shows the workload placement details of the workspace. For more information, see Manage Workload Placement.
-
Workload Template: This page shows all workload templates in the workspace. For more information, see Manage Workload Templates.
-
GPU Requests: This page shows all GPU requests in the workspace. For more information, see Manage GPU Requests.
-
Priority Queue: This page shows all priority queues in the workspace. For more information, see Manage Priority Queues.
-
GPR Templates: This page shows all GPR templates in the workspace. For more information, see Manage GPR Templates.
-
AI Workloads: This page shows all AI workloads deployed in the workspace. For more information, see Manage AI Workloads.
-
Policies: This page shows all policies created for the workspace. For more information, see Manage Policies.
-
Replicate: This page allows you to replicate AI workloads from one workspace to another workspace. For more information, see Replicate Resources.
-
Cost Management: This page shows the cost details of the workspace. For more information, see Workspace Cost Management.
-
View the Workspace Network Health
To view the health of a workspace that has on overlay network configured (Single Network):
-
Go to Workspace on the left sidebar.
-
Select All Workspaces on the top left.
-
On the Workspaces page, select the workspace you want to view its health.
-
On the selected workspace page, you can view the workspace health and network details on the Overview tab.

-
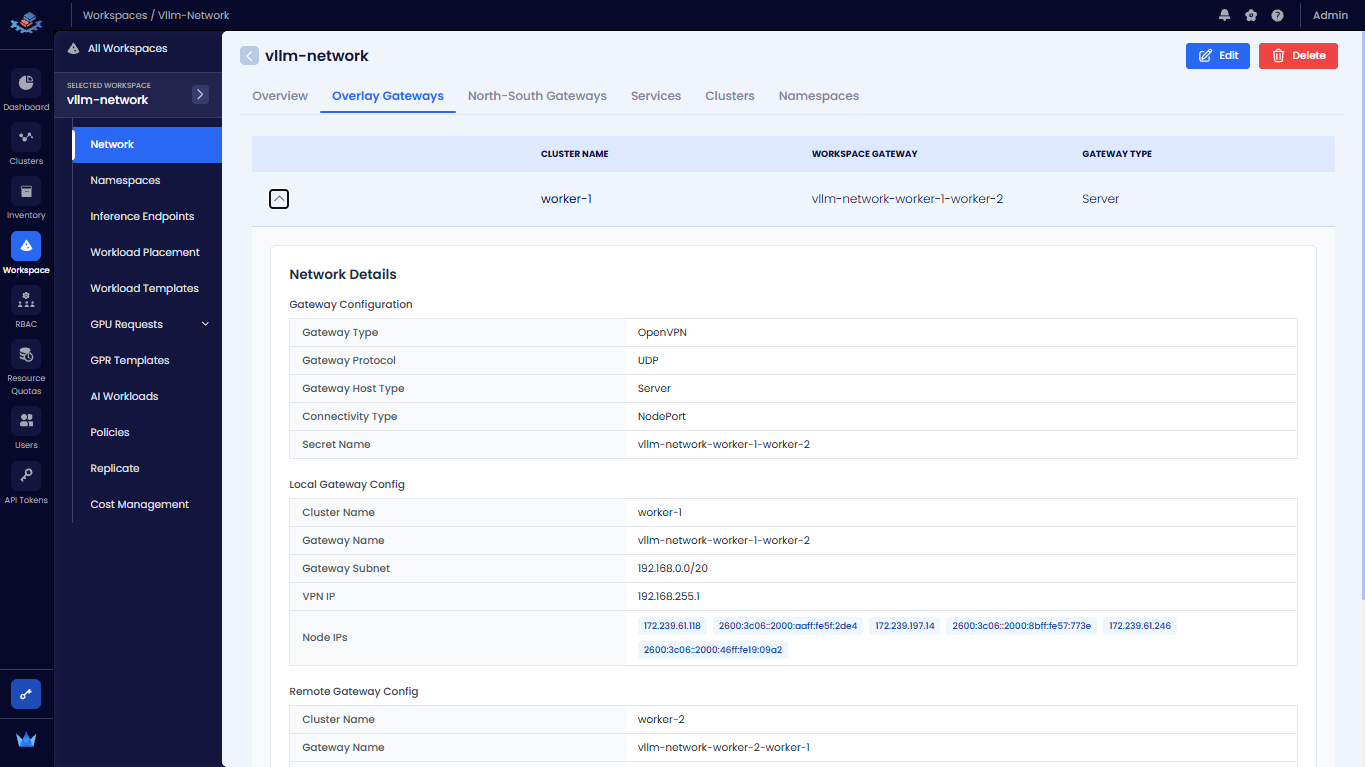
To view overlay gateways connected to the workspace, click the Overlay Gateways tab.
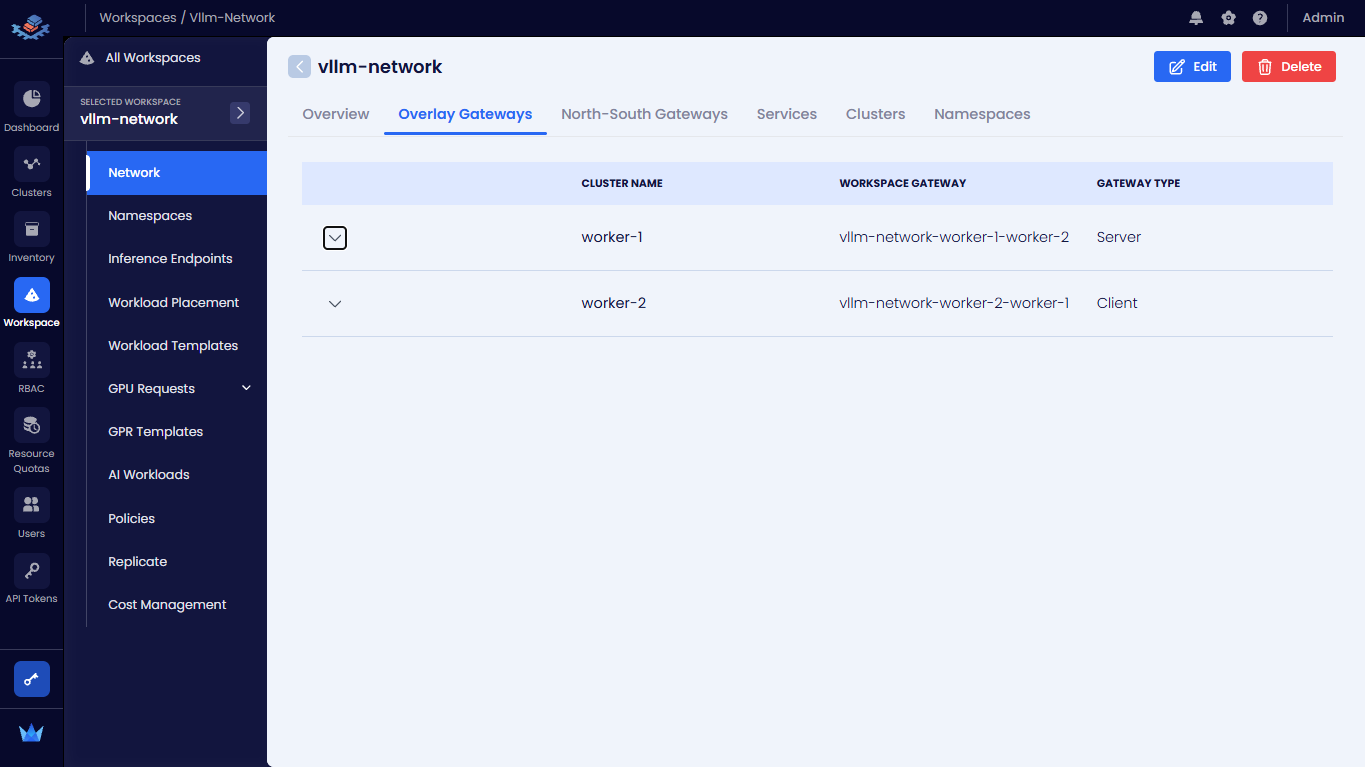
Click the down arrow icon to view more details of a specific gateway.
-
To view north-south gateways connected to the workspace, click the North-South Gateways tab.
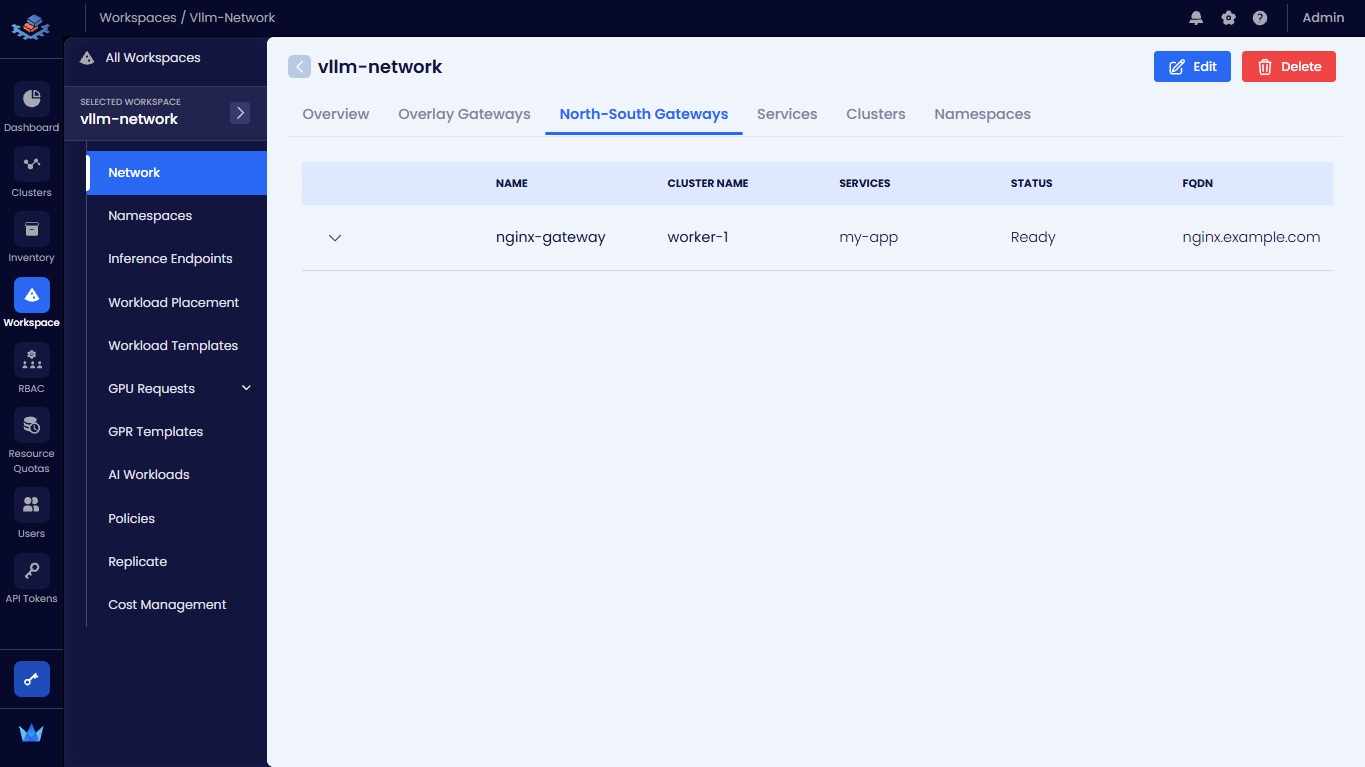
Click the down arrow icon to view more details of a specific gateway.
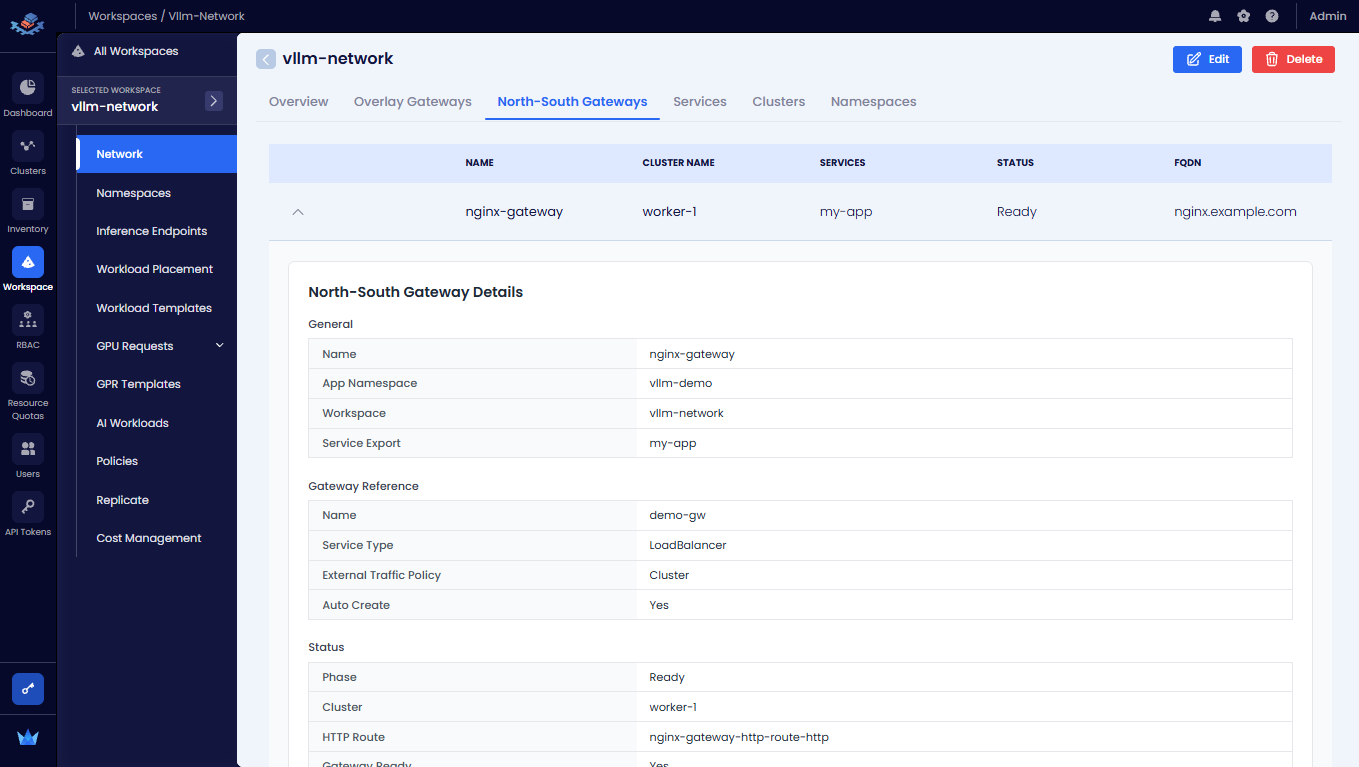 info
infoAn Admin can configure north-south gateways on the clusters connected to the workspace to view the north-south gateway details on the Admin/User Portal . For more information, see Workspace NS Gateway.
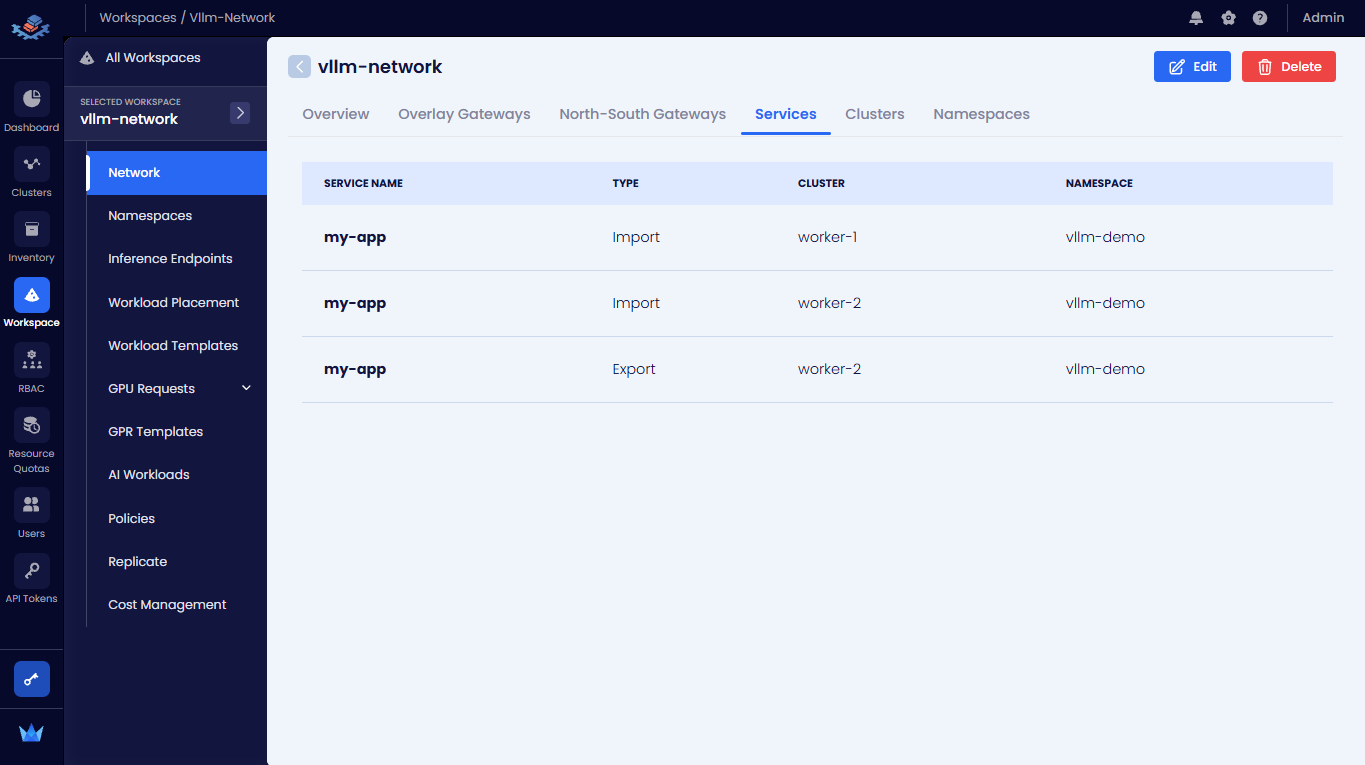
-
To view services connected to the workspace, click the Services tab.
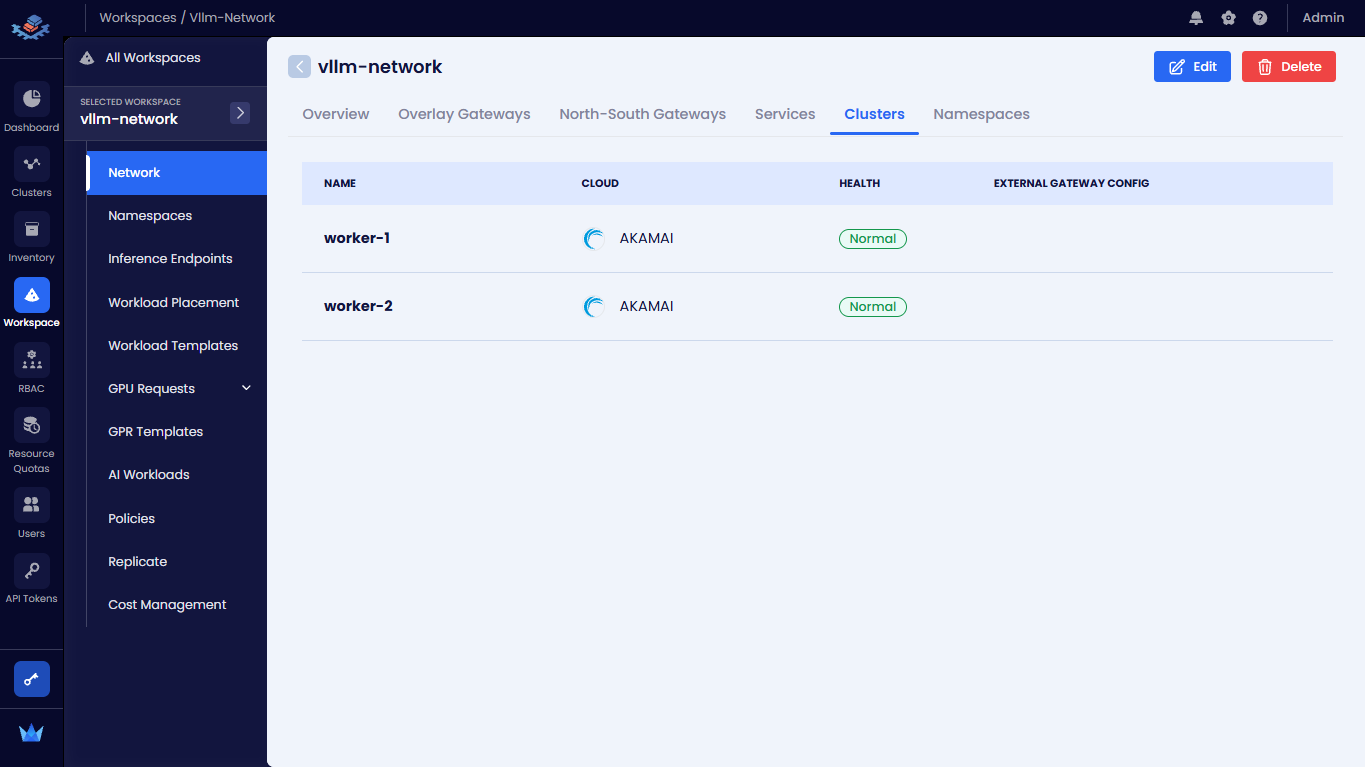
-
To view clusters connected to the workspace, click the Clusters tab.
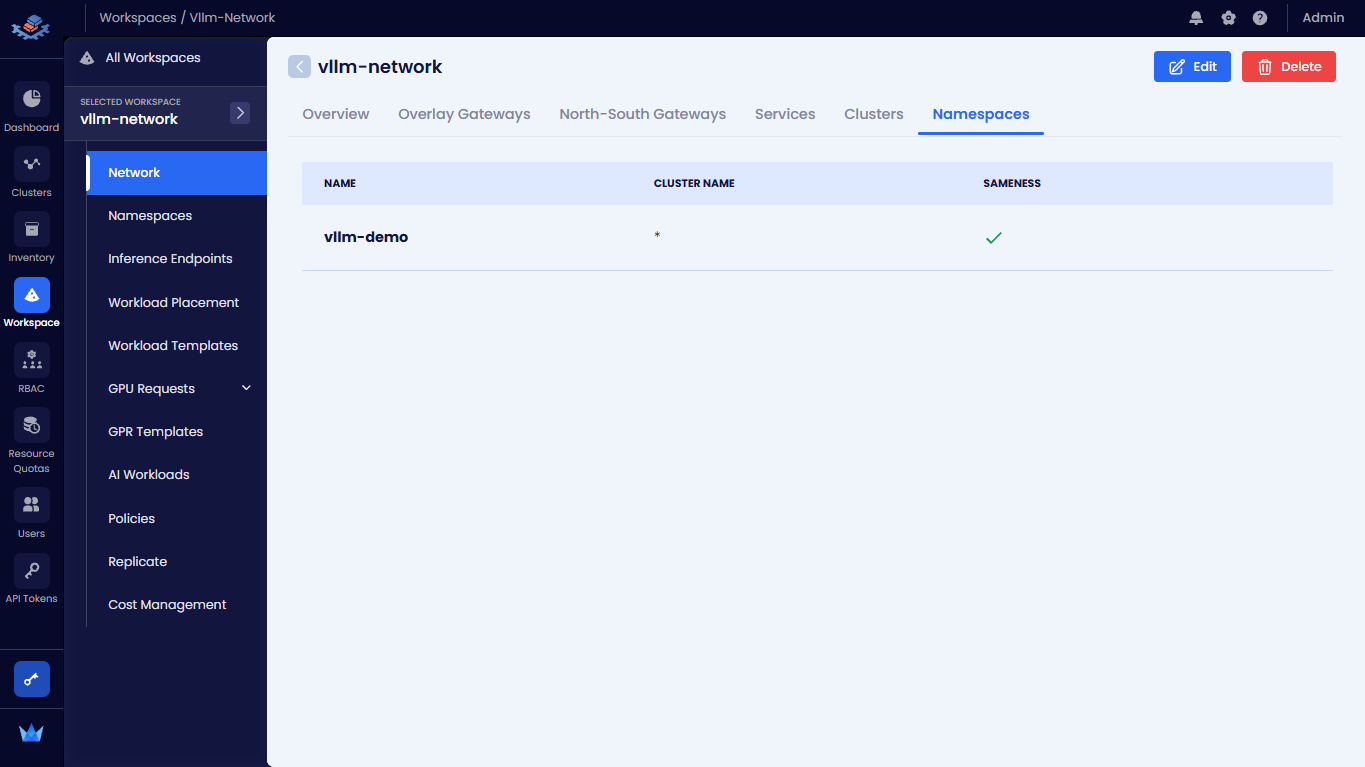
-
To view namespaces onboarded onto the workspace, click the Namespaces tab.
The workspace that has no overlay network configured (No Network) does not shows the network health details.
Edit a Workspace
-
Go to Workspace on the left sidebar
-
Select All Workspaces on the top left.
-
On the Workspaces page, select the workspace you want to edit settings.
-
On the selected workspace page, click the Edit button on the top right.
-
On the Edit Workspace pane, you can modify the following details under the Details tab:
- Name
- Network Type, you can change the network type from No Network to Single Network but cannot change from Single Network to No Network.
- Subnet
- Description
- Maximum Clusters
- QoS Dscp Class
- QoS Bandwidth ceiling
- Overlay Type
-
In the Connect Clusters tab, you can perform the following:
-
Under All Clusters, to connect more clusters to the workspace, click the plus icon next to each worker cluster in the list.
- Under Workspace Clusters, unselect the cluster to detach it from the workspace. Click the minus icon against a worker cluster to detach it from the workspace, enter the text DETACH to confirm, and click the Detach Cluster button.
-
-
Click the Edit Workspace button to save the changes.
Delete a Workspace
Be sure to detach clusters from a workspace before deleting it.
To delete a workspace:
-
Go to Workspace on the left sidebar
-
Select All Workspaces on the top left.
-
On the Workspaces page, select the workspace you want to delete.
-
On the selected workspace page, click the Delete button on the top right.
-
On the confirm delete dialog, enter DELETE to confirm and click the Delete Workspace button.