Smart Scale a Scheduled Event
This tutorial walks you through the installation and configuration of the Smart Scaler agents, and schedule the events using the SaaS management console. Your application pods are scaled using the In-Cluster approach.
Understand the Infrastructure Setup
Let us understand the setup with an example:
- You have a microservice application that has been deployed in a cluster.
- The application has a deployment and a service.
- You have also created a Horizontal Pod Autoscaler (HPA) for the deployment.
- The microservice is wrapped in a helm chart. The helm chart has a
values.yamlfile that defines the configuration for the deployment and the HPA.
Required Packages
| Package Required | Version | Installation Instructions |
|---|---|---|
| Helm | 3.15.0 or later | Installing Helm |
| kubectl | 1.30.0 or later | Installing kubectl |
Step 1: Download the Smart Scaler Values File
-
Add the smartscaler helm repository using the following command:
helm repo add smart-scaler https://smartscaler.nexus.aveshalabs.io/repository/smartscaler-helm-ent-prod/ -
Download the
ss-agent-values.yamlfile by visiting the Deploy Agents page on the Smart Scaler management console. You must modify the values in this file and use it to install the Smart Scaler Agents.
Step 2: Install the Smart Scaler Agents
- Modify the
ss-agent-values.yamlfile that you downloaded in step 1 to include the following values:
agentConfiguration:
# This will be pre populated by SmartScaler
clientID: tenant-apollo
namedDataSources:
- name: "" # This is the same name that you used in the agent configuration
  datasourceType: "" # This is the type of the datasource
  url: "" # URL of the datasource
namedGitSecrets:
# This is the secret that will be used to access the git repository for Event Auto-scaling. Use as many secrets as you might need for different repositories.
- name: "" # This is the name of the secret. This will be used in the ApplicationConfig to refer the secret.
  gitUsername: "" # Github Username (plaintext)
  gitPassword: "" # PAT token (plaintext)
  url: "" # URL of the git repository
configGenerator:
apps:
  - app: "" # name of the application. e.g. awesome-app
    app_version: "" # version of the application. e.g. 1.0
    namedDatasource: "" # reference to the namedDataSources. e.g. datadog
    default_fallback: 3 # Default fallback value
    use_collector_queries: false # Use only datasource collector queries
    gitConfig: # These are global configurations for the git repository. It will be a fallback if the deployment specific configurations are not provided. You can skip this if you don't want to use the global configurations.:
      branch: "" # branch of the git repo. e.g. main
      repository: "" # url of the git repo where deployment charts are stored. e.g. https://github.com/smart-scaler/smartscaler-tutorials
      secretRef: "" # reference to the namedGitSecrets.
    clusters:
      - name: "" # name of the cluster where the application is deployed. This should be same as your datadog metrics label. e.g. my-awesome-cluster
        namespaces:
        - name : ""  # name of the namespace. e.g. acmefitness
          metricsType : "" # type of the metrics. e.g. istio
          deployments: # list of k8s deployments:
          - name: "" # name of your k8s application deployment. e.g. cart
            fallback: 3 # Fallback value
            eventConfig: # configurations for event auto-scaling:
              gitPath: "" # path to the values.yaml file in the git repo. This is the location of the values file where you made the changes to enable SmartScaler. e.g. custom-values.yaml
              gitConfig: # These are the configurations for the git repository. It will override the global configurations.:
                branch: "" # branch of the git repo for the deployment. e.g. main
                repository: "" # url of the git repo where deployment charts are stored. e.g. https://github.com/smart-scaler/smartscaler-tutorials
                secretRef: "" # reference to the namedGitSecrets
-
Deploy the agents in the cluster by running the following command:
helm install smartscaler smart-scaler/smartscaler-agent -f ss-agent-values.yaml -n smart-scaler --create-namespace -
Installing a Smart Scaler Agent defines the ConfigMap. To gain more flexibility, you can remove the default ConfigMap and create a new ConfigMap.
Use this command to remove the default ConfigMap that comes with the Smart Scaler Agent installation:
kubectl delete configmap <configmap-name> -n <namespace>Example
kubectl delete configmap smart-scaler-config -n smart-scaler -
Create an
ss-appconfig-values.yamlfile.The following is an example
ss-appconfig-values.yamlfile with thein-clusterscaling approach:agentConfiguration:
# This will be pre populated by SmartScaler
clientID: tenant-apollo
namedDataSources:
- name: "datadog" # This is the same name that you used in the agent configuration
datasourceType: "datadog" # This is the type of the datasource
url: "" # URL of the datasource
configGenerator:
apps:
- app: "boutique"
eventScalingType: incluster
app_version: "1.0.0"
namedDatasource: "datadog"
default_fallback: 3
use_collector_queries: false
clusters:
- name: "tool"
namespaces:
- name: "boutique"
metricsType: "datadog"
deployments:
- name: adservice
fallback: 3
eventConfig: # configurations for event auto-scaling:
scaledObject: # Configurations for the scaled object
kind: HorizontalPodAutoscaler # Default is HorizontalPodAutoscaler. Possible values are HorizontalPodAutoscaler, ScaledObject
name: "test" # Name of the hpa. Default is the name of the deployment
namespace: "boutique" # Namespace of the hpa. Default is the namespace of the deployment -
Deploy the configuration by running the following command:
helm install smartscaler-configs smart-scaler/smartscaler-configurations -f ss-appconfig-values.yaml -n smart-scalerThe helm template will generate the necessary
Queries and ApplicationConfigconfigurations based on your input and create the desired ConfigMap for the Inference Agent andApplicationConfig CRfor the event autoscaler.
Step 3: Verify the Configuration
-
Use the following command to verify the configuration:
kubectl get applicationconfigs.agent.smart-scaler.io -n smart-scalerExpected Output
NAME                AGE
awesome-app 10s -
Use the following command to verify the ConfigMap:
kubectl get configmap -n smart-scalerExpected Output
NAME                                 DATA   AGE
agent-controller-autoscaler-config   2      1m
agent-controller-manager-config      1      1m
config-helper-ui-nginx               1      1m
kube-root-ca.crt                     1      1m
smart-scaler-config                  1      1m
Configure HPA
After you have established communication with the Smart Scaler cloud, you must configure HPA to listen to the recommendations (when they are available). For more information, see how to configure HPA to scrape the metrics from the Inference Agent.
For event scaling with Smart Scaler agent versions 2.9.28 or earlier, each application deployment in a namespace must have its own configured HPA. Without an individual HPA, event scaling fails.
However, starting with Smart Scaler agent versions 2.9.29 and later, event scaling no longer requires an individual HPA for each application deployment.
Monitor the Metrics
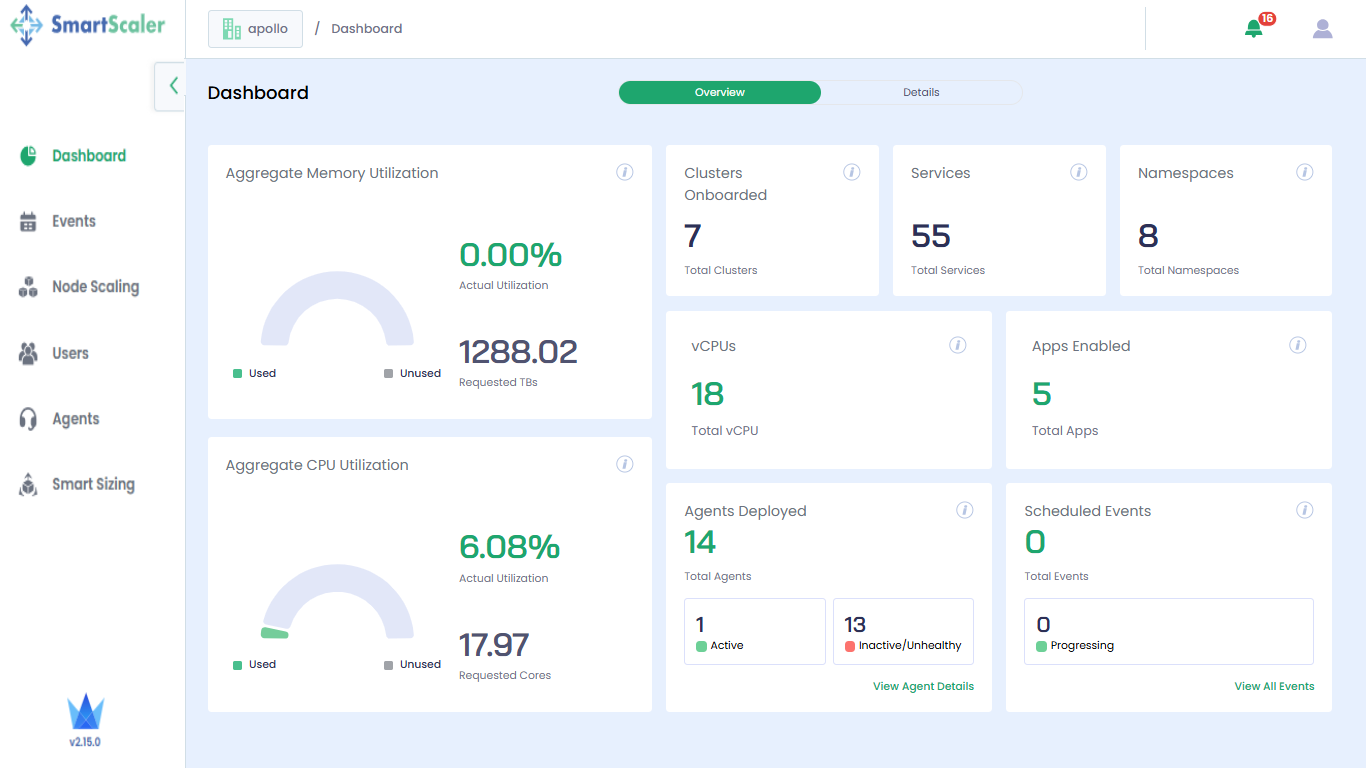
If the verified Smart Scaler configuration looks good, log in to the Smart Scaler management console and verify that your application and services appear in the Dashboard pick lists. Verify that No of Pods, CPU Usage, and Requests Served (SLO) look right.
If the No of Pods, CPU Usage, and Requests Served (SLO) look good, you have successfully installed and configured Smart Scaler. You can now start using Smart Scaler to autoscale your applications.
If you are not able to see the application metrics on the SaaS management console, you can refer to the steps mentioned in the KB article to troubleshoot the issue.
Configure an Application Event
After defining an application, you can schedule the event for an application using the SaaS Management console.
Use the SaaS Management Console
You can create events from the management console to trigger autoscaling based on planned event times. For more information, see Event Operations.
Use the YAML Configuration File
You can apply manifest in the cluster to scale an event. The following is the template to configure an event using the default event scaling approach.
For event scaling with Smart Scaler agent versions 2.9.28 or earlier, each application deployment in a namespace must have its own configured HPA. Without an individual HPA, event scaling fails.
However, with Smart Scaler agent versions 2.9.29 and later, event scaling does not require an individual HPA for each application deployment.
apiVersion: # The Smart Scaler API version. A set of resources that are exposed together, along with the version.
kind:  # The name of a particular object schema.
metadata: # The metadata describes parameters (names and types) and attributes that have been applied.
  name: # The name of the event.
spec: # EventConfigSpec defines the desired state of EventConfig.
  eventStartTimestamp: # The start time of the event.
  eventEndTimestamp: # The end time of the event.
  applicationConfigName: # The the name of ApplicationConfig.
  scalingConfiguration: # This object defines the scaling parameters for the event.
    minScalingFactor: # The highest scaling factor for the event, supporting decimal values.
    maxScalingFactor: # The smallest scaling factor for the event, supporting decimal values.
  cooldownDuration: # The cooldown duration for the event.
  destinationContexts: # The list of destination contexts for the event, defaults to in-cluster.
    - in-cluster
Create the event configuration by following the details in the following example.
apiVersion: agent.smart-scaler.io/v1alpha1
kind: EventConfig
metadata:
  name: thursday-sale
spec:
  displayName: ThursdaySale
  eventStartTimestamp: "2024-11-14T00:00:00Z"
  eventEndTimestamp: "2024-11-15T00:00:30Z"
  applicationConfigName: my-app ## references applicationConfig CR
  scalingConfiguration:
    minScalingFactor: "10"
    maxScalingFactor: "10"
  cooldownDuration: 30s # eg. 120s, 1h, 1d
  destinationContexts:
    - in-cluster
Apply the Configuration
After creating (or editing) the configuration, apply the latest settings using the following command:
kubectl apply -f app-config.yaml -n smart-scaler