Sign Up and Quick Start
This topic describes how to sign up for and get started with Smart Scaler.
You must register to access the enterprise helm repository and get a tenancy for your subscription. The enterprise helm repository access is required to download the values file and Smart Scaler agents into your cluster.
If you are a first-time user, then you must create an account by signing up as a new user or by signing up using Google or GitHub as identity providers (IdPs).
Task Roadmap
This roadmap outlines the following tasks to help you quickly get started with Smart Scaler:
- Create an Account
- Sign in to Smart Scaler
- Meet Prerequisites Tools and Files
- Deploy the Agent
- Verify the Deployed Agent
Create an Account
You must register on Smart Scaler for creating an account. This account serves as tenancy for your subscription.
To create an account:
-
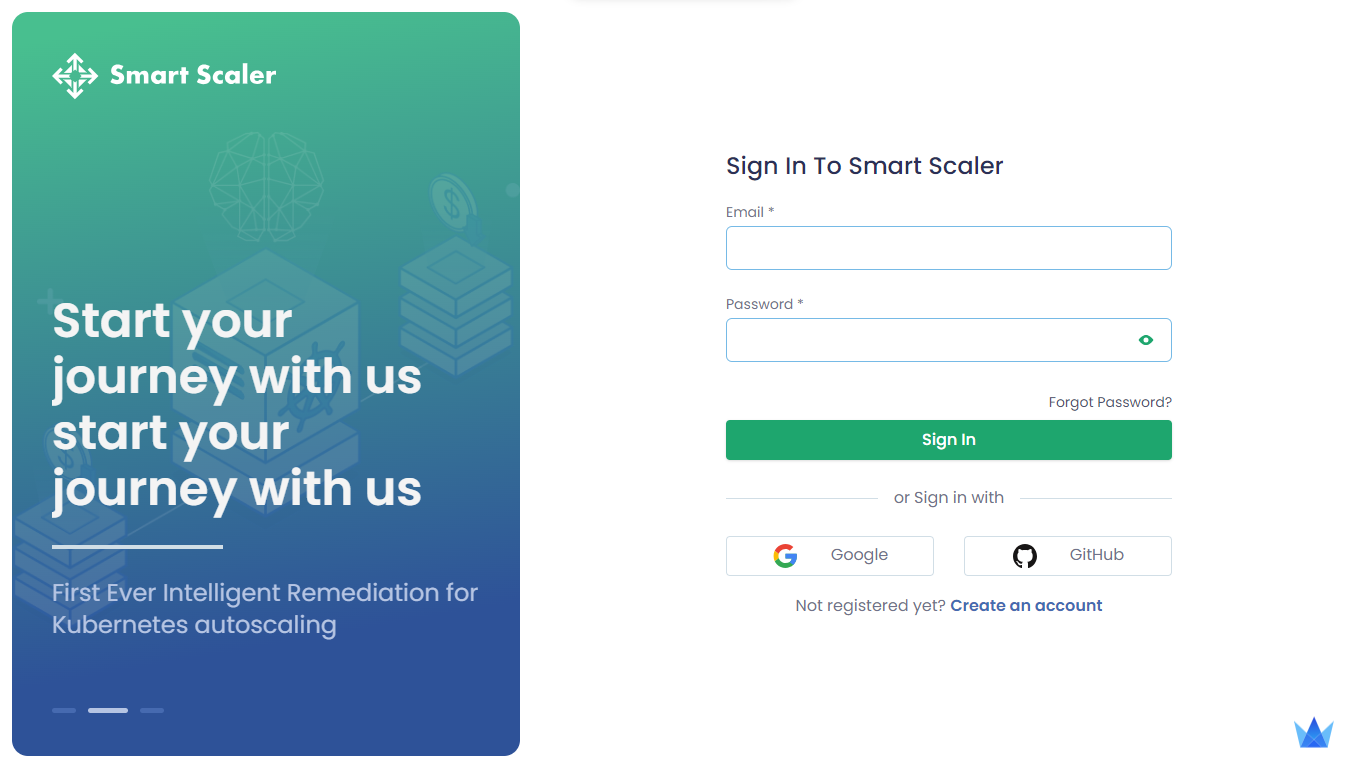
The URL lands on the page that is used to sign in.
-
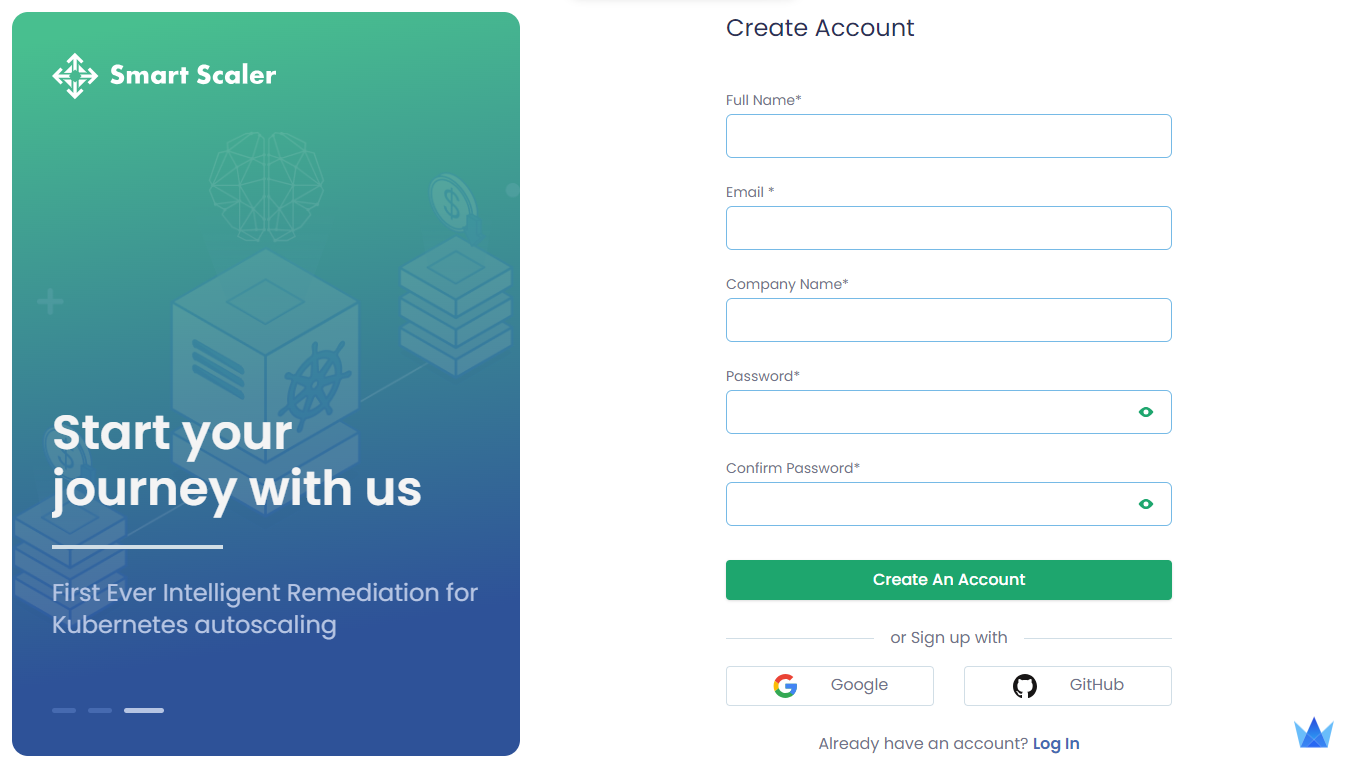
To sign up directly, click Create an account.
You can use your GitHub or Google credentials to sign up. To know more, see use IdP to sign up.
-
On the Create Account page, in the Full Name text box, enter your name.
-
In the Email text box, enter your email address.
-
In the Company Name text box, enter the name of your company.
-
In the Password text box, enter a password that must contain eight characters that includes a special character.
-
Click Create an Account.
-
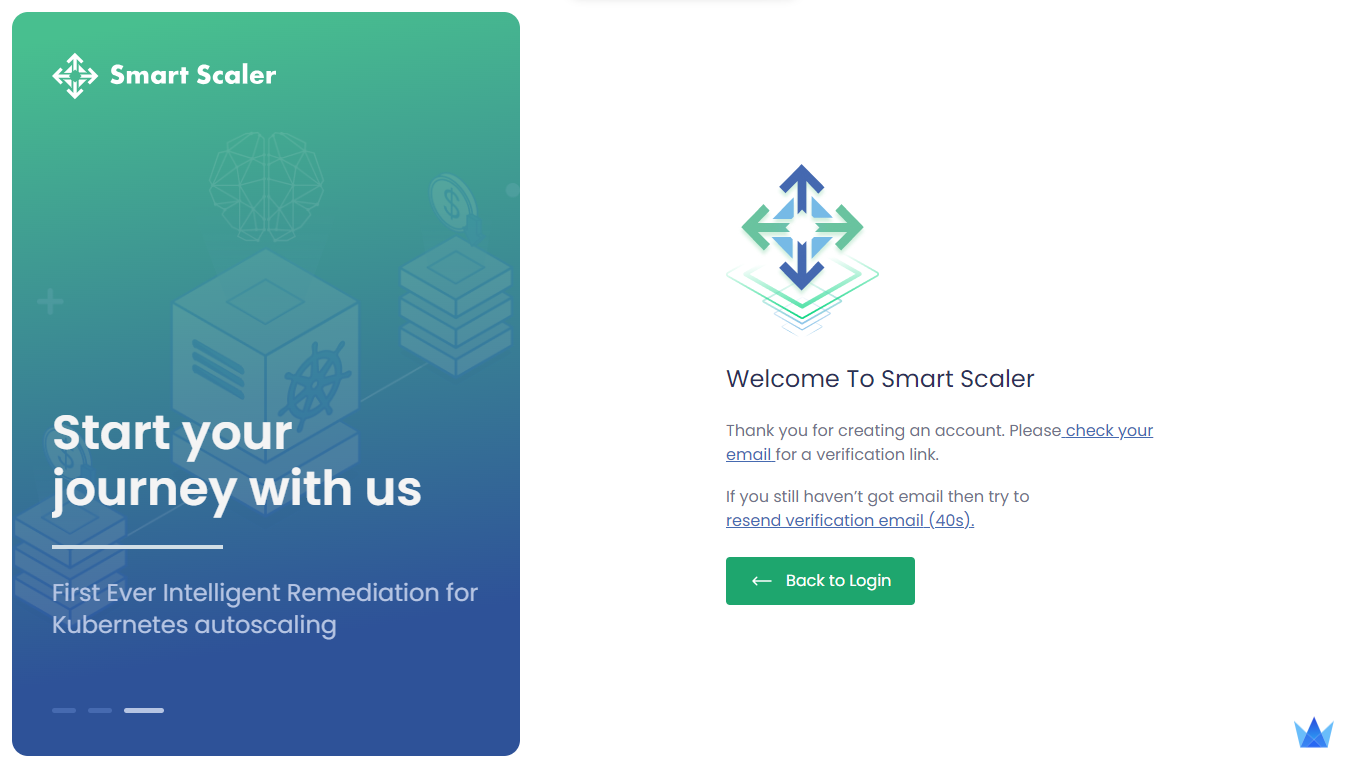
Your account is created successfully. You must verify your email to complete the registration. Check your mailbox for the email verification link.
-
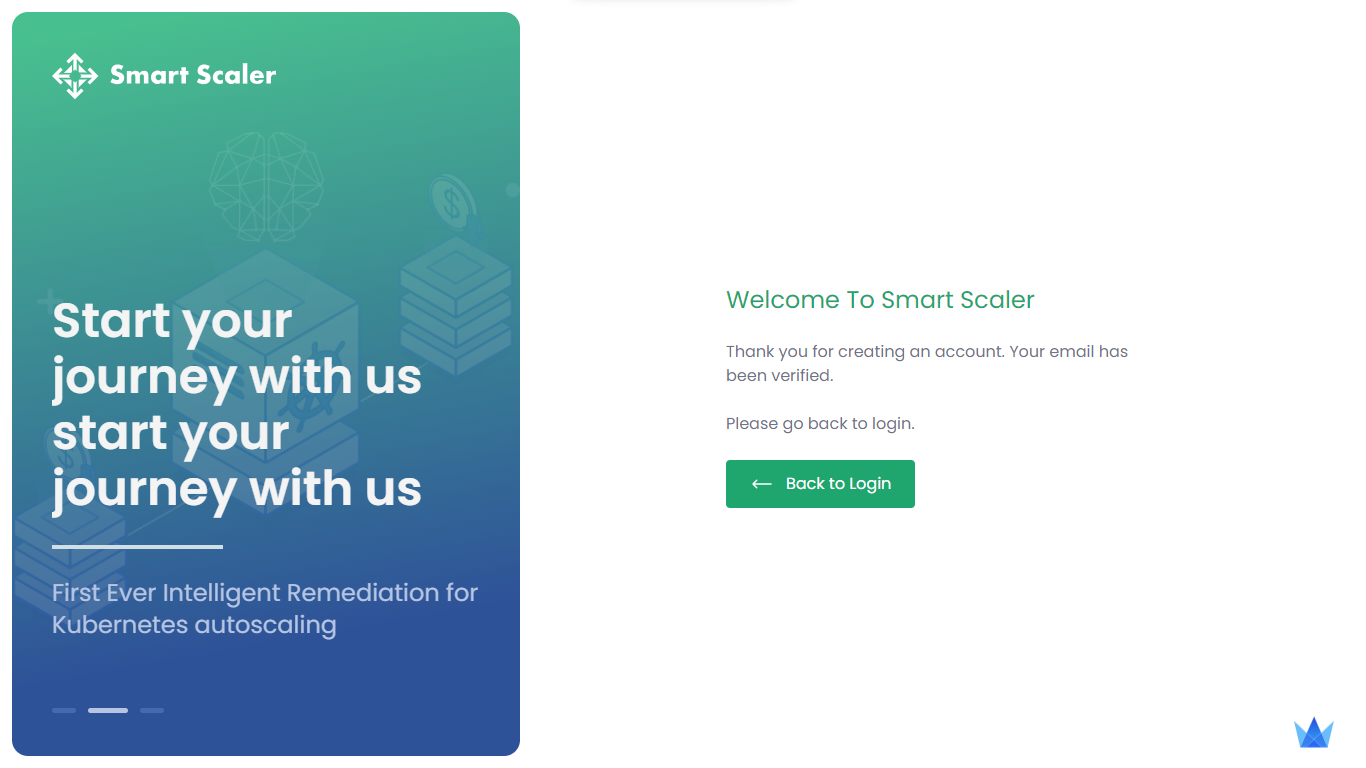
After you verify the email address, you get an acknowledgement.
-
Click Back to login to sign in to the Smart Scaler.
Create an Account using IdP
Google and GitHub are the supported IdPs to sign up for Smart Scaler.
To sign up using IdP:
-
The URL lands on the page that is used to sign in.
-
Click Create an account.
-
On the Create Account page, under the Create an account button, click Google or GitHub that you want to sign up with.
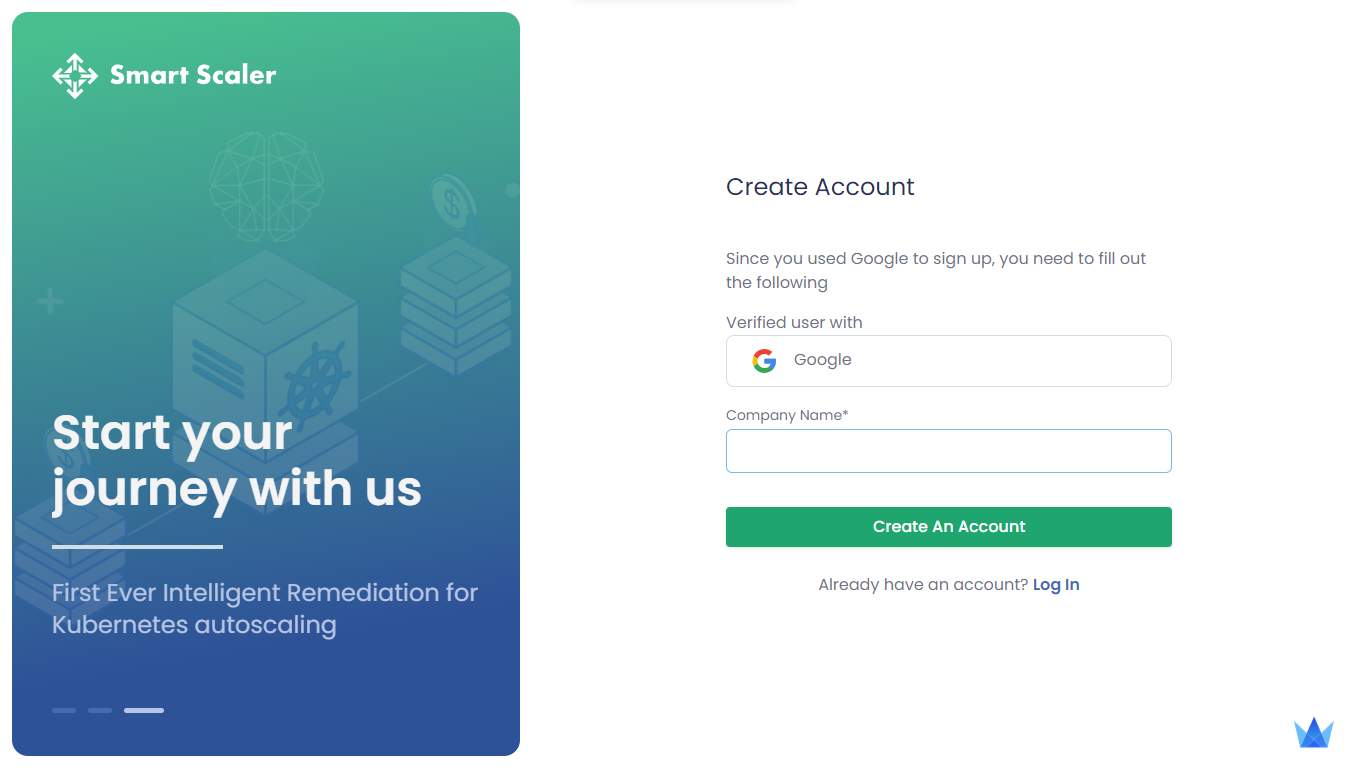
-
On the Create Account page (for IdP), in the Company text box, enter the name of your company.
-
Click Create an Account.
Sign in to Smart Scaler
After creating an account, you can sign in to Smart Scaler.
To log in to Smart Scaler management console:
-
The URL lands on the page that is used to sign in.
-
In the Email text box, enter your registered email address.
-
In the Password text box, enter your password.
-
Click Sign in.
-
Alternatively, you can sign in with Google or GitHub account credentials.
-
After a successful authentication, you land into the Deploy Agents page.
Meet Prerequisites Tools and Files
You must meet the requirements for product installations by providing information about the necessary prerequisites for configuring Smart Scaler. It is essential to have a well-configured environment that fulfills the requirements for Smart Scaler. This section explains the prerequisites in detail to help you successfully configure Smart Scaler.
Supported Monitoring Tools
We support Application Performance Management tools such as Prometheus, Datadog, AppDynamics, DynaTrace, New Relic, and other custom data sources.
Required Tools for Event-based AutoScaler
This is only required if you want to configure Event Infrastructure Scaling. You can ignore these tools if you want to only configure the Smart Scaler.
Whitelist URLs
The Smart Scaler agent needs access to the following URLs. If firewalls are configured to control outgoing access to external sites, you must allow these URLs in your firewall:
- https://gateway.saas1.smart-scaler.io/api/v1/agent/health
- https://gateway.saas1.smart-scaler.io/oauth2/token
Deploy the Agent
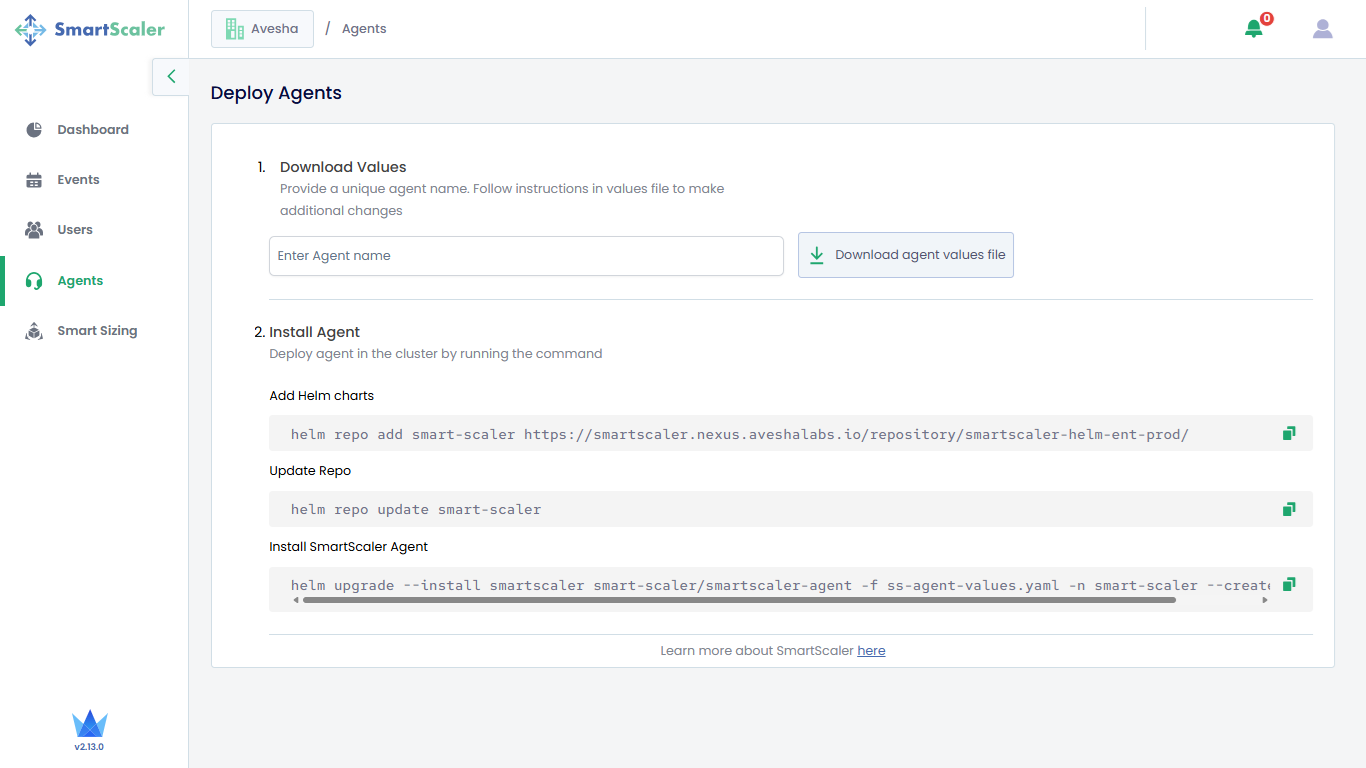
To deploy the Smart Scaler agent, go to the Agents tab on the left sidebar and follow these steps.
Download the Values File
-
On the Deploy Agents page, add a name for the agent in the text box and download the values file.
Open the downloaded
ss-agent-values.yamlfile in your favorite editor and fill in the requested info. You must provide a name for your cluster as well as identify the URL and access keys to your data sources.
To securely access the clientSecret, store it securely, and reference it as existingSecret in the
ss-agents-values.yaml file. To configure existingSecret, you must remove the
clientSecret parameter from the Helm chart. For more information,
see external secret configuration.
To synchronize the clientSecret from external secret management systems such as
HashiCorp Vault into Kubernetes, configure the External Secrets Operator in the ss-agents-values.yaml
file. To configure the External Secrets Operator, you must remove clientSecret from the
Helm chart. For more information, see Configure an External Secrets Operator.
Install the Agent
-
On the cluster where you want to deploy the agent, use the following command to add the Smart Scaler repo:
helm repo add smart-scaler https://smartscaler.nexus.aveshalabs.io/repository/smartscaler-helm-ent-prod/ -
Update the repo using the following command:
helm repo update smart-scaler -
(Optional) To verify if the Smart Scaler repository was added successfully, view the chart using the following command:
helm search repo smart-scalerExpected Output
NAME                                   	CHART VERSION  APP VERSION DESCRIPTION
smart-scaler/adb-scaler                   1.2.0          1.3.0       A Helm chart for adb-scaler
smart-scaler/avesha-karpenter             1.0.0          1.0.0       A Helm chart for Avesha's karpenter.
smart-scaler/beyla                        1.2.6          1.9.0       eBPF-based autoinstrumentation HTTP, HTTP2 and ...
smart-scaler/smartscaler-agent            2.9.6          2.8.4       Intelligent Autoscaling for Kubernetes
smart-scaler/smartscaler-configuration 1.2.4 1.2.4 Configurations for Smart Scaler -
On the same cluster, use the following command to install the Smart Scaler Agent:
helm install smartscaler smart-scaler/smartscaler-agent -f ss-agent-values.yaml -n smart-scaler --create-namespaceIn the above command, use the
ss-agent-values.yamlfile that you have downloaded in step 1 and modified.
The Smart Scaler Agent installation includes the default ConfigMap that contains the agent and application definition.
Starting with Smart Scaler version 2.13.0, we have introduced a new default application definition
to simplify the process of onboarding applications to Smart Scaler. You only need to
identify the namespaces that contain the applications you want Smart Scaler to manage. To
do this, open the ss-agent-values.yaml file downloaded from the management console's Agents page, and
add the list of namespaces to the namespaceAnnotationKey label.
After the namespaces are defined, the Inference Agent assumes that all deployments in each specified namespace should be managed as a unit by Smart Scaler.
If this setup matches your deployment pattern, this is all you need to do to onboard your applications.
For event scaling with Smart Scaler agent versions 2.9.28 or earlier, each application deployment in a namespace must have its own configured HPA. Without an individual HPA, event scaling fails.
However, starting with Smart Scaler agent versions 2.9.29 and later, event scaling no longer requires an individual HPA for each application deployment.
To gain more flexibility over the application definition, see:
Verify the Deployed Agent
- Verify the agent you just deployed on the management console's Agents page.
- To verify the successful installation of the agent, you can sign out of the management console and sign in again. By default, the dashboard displays the overview.
View Scaling Recommendations
After you onboard your application, ensure that it experiences a representative and varying workload. It may take up to 24 hours to receive smart scaling recommendations. You can monitor the Smart Scaler management console dashboard to see the recommendations. For more information, see this video, view scaling recommendations after onboarding applications.
Start Here for Help
| Visit Troubleshooting | Contact Avesha Support |
|---|---|
| Check Troubleshooting Guide to Find resolution steps for common issues. | Send us an email at support@avesha.io. |
Take the Next Steps
Learn how to configure advanced configuration and use the management console for using Smart Scaler for inference scaling and event infrastructure scaling:
- Smart Scaler Agent's advanced configuration
- Configure applications using Helm
- Manage Smart Scaler using the management console for monitoring dashboard that includes saving reports, smart sizing, and scaling events' infrastructure and so on.