Event Operations
This topic describes how to add and manage scheduled event and recurring event for application scaling from the Smart Scaler management console.
Non Recurring Event
For event scaling with Smart Scaler agent versions 2.9.28 or earlier, each application deployment in a namespace must have its own configured HPA. Without an individual HPA, event scaling fails.
However, starting with Smart Scaler agent versions 2.9.29 and later, event scaling no longer requires an individual HPA for each application deployment.
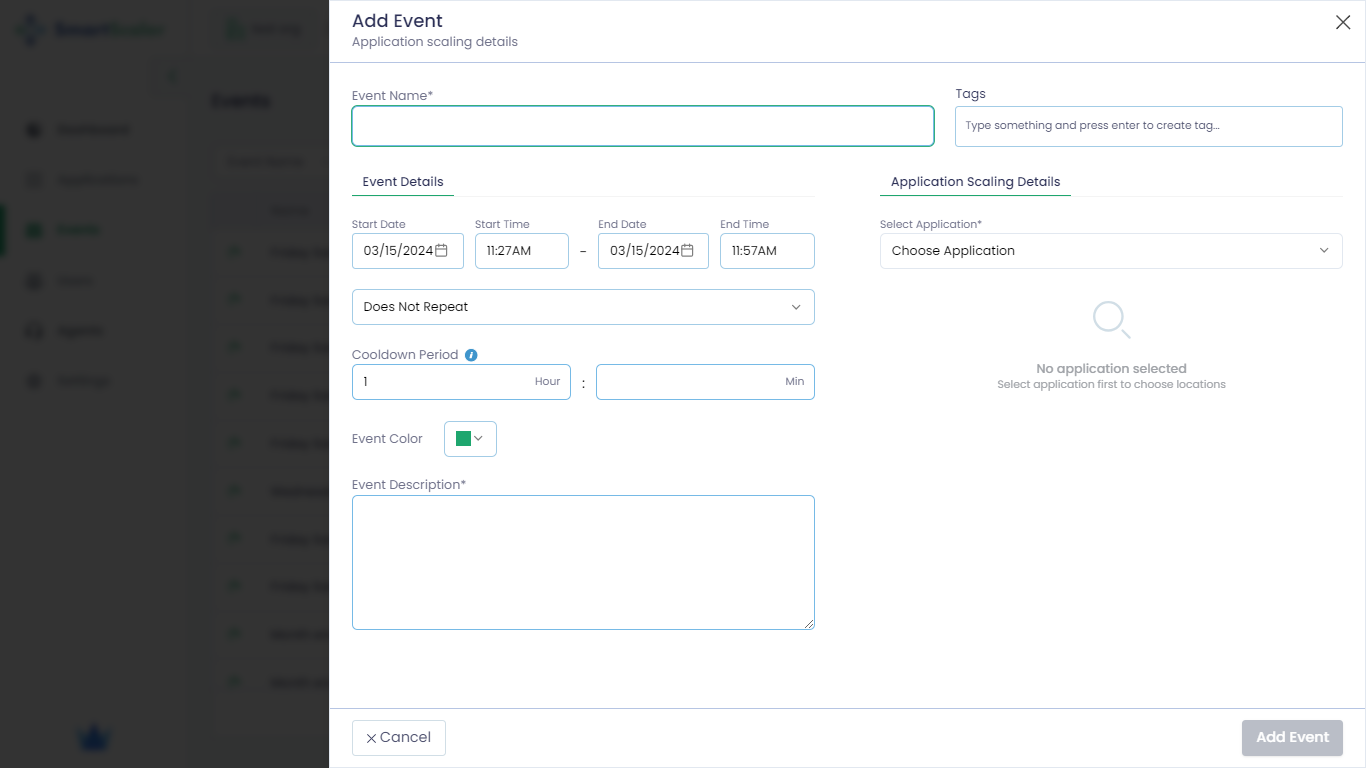
Add an Event
To add an event:
-
Go to the Events tab on the left sidebar of the Smart Scaler management console.
-
On the Events page, click the Add Event button to add a new event.
-
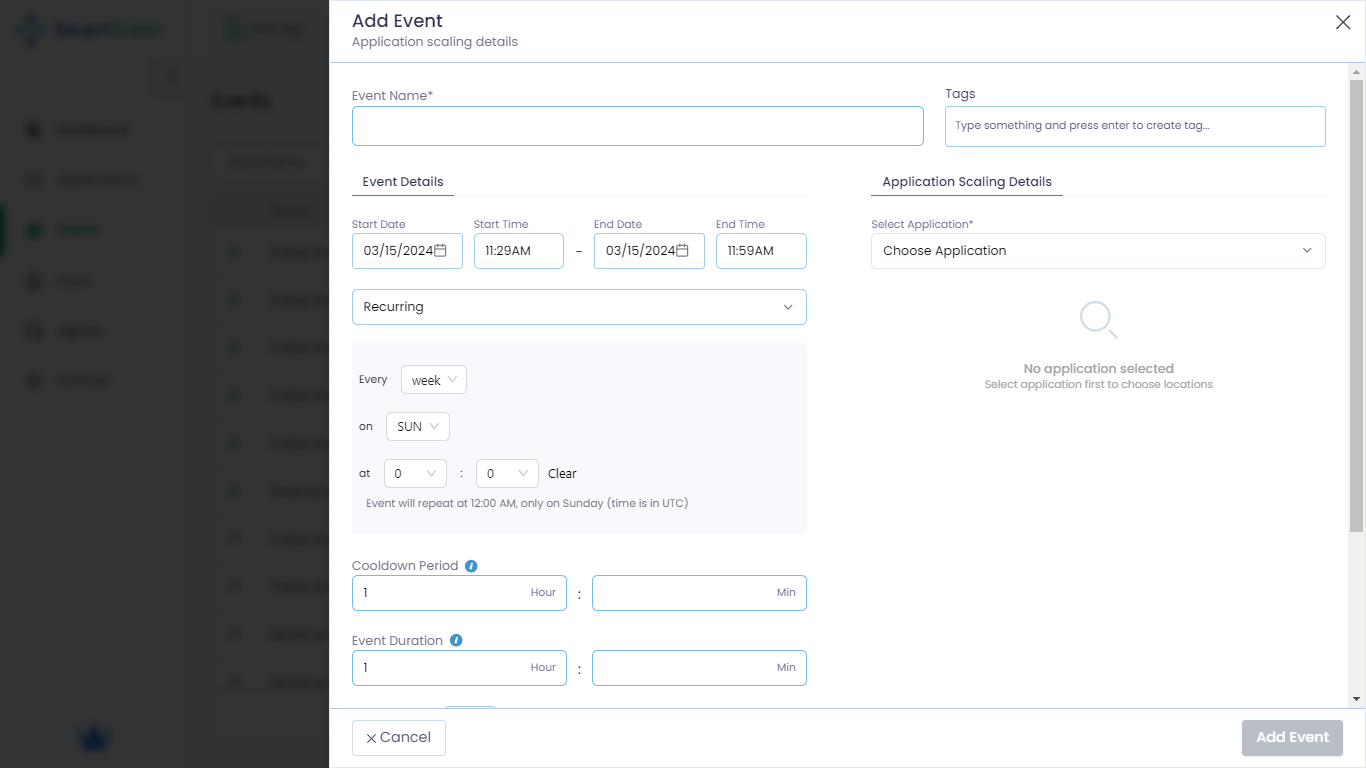
On the Add Events page, enter the following details:
-
Enter the name of the event in the Event Name text box.
-
Under Event Details, enter the duration of an event.
- Set the
Start DateandStart Timeof the event. - Set the
End DateandEnd Timeof the event.
- Set the
-
Select Does not repeat for a non-recurring event.
-
Enter the number of hours in the Cooldown Period text box. It is the cooling period to handle the overhead incoming traffic after the event ends. The default value is one hour.
-
Set the color from the Event Color drop-down list. The default color is green.
-
Enter a short description to describe the event in the Event Description text box.
-
(Optional) Enter a tag that would serve as a label to identify this event in the Tags text box. For example, add the tag
salesfor the sales event. -
Under Application Scaling Details, select the following:
-
From the Select Application drop-down list, choose your application. For example,
new-boutiqueis the sample application.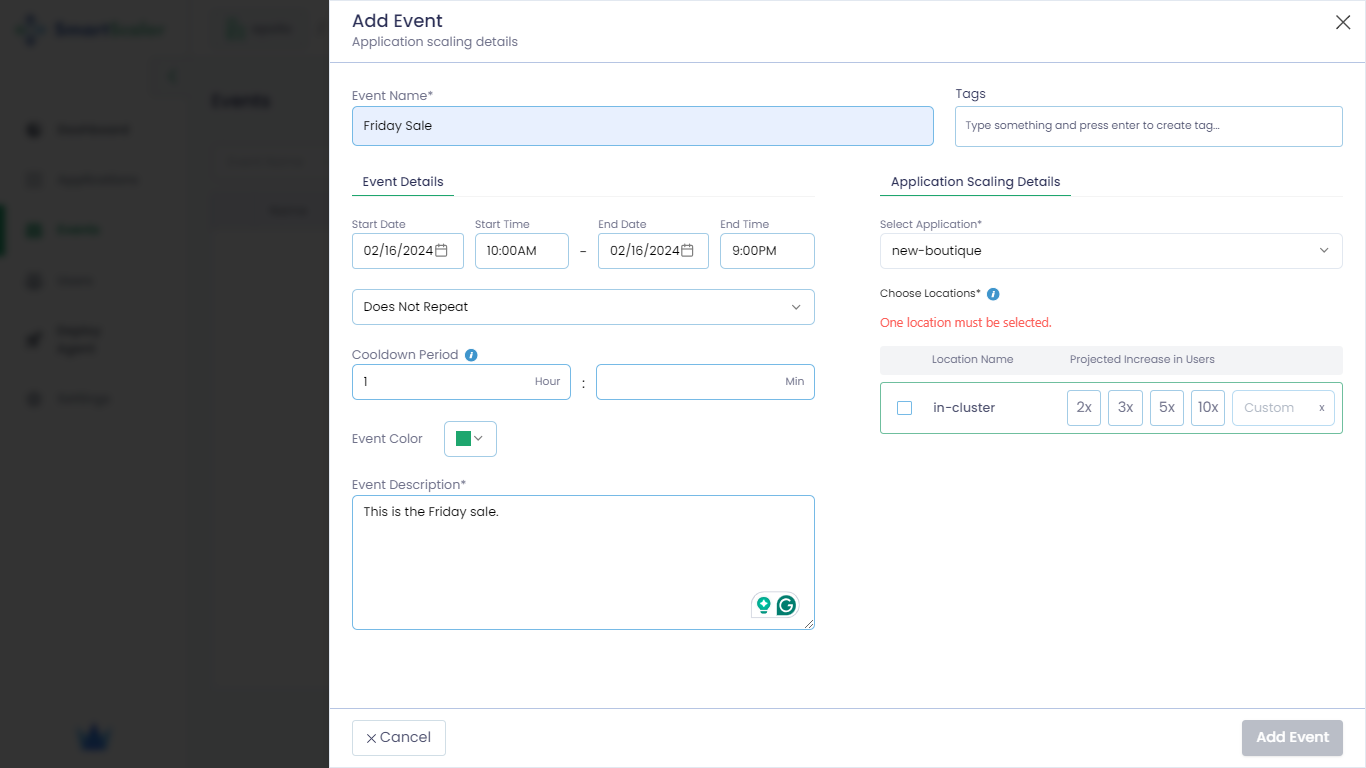
-
Under the Choose Locations drop-down list, select the cluster. For example, select the
in-clustercluster where thenew-boutiqueapplication is installed and select the value 3x for the projected increase in users. The value 3x is selected based on the expected incoming traffic at the time of the event.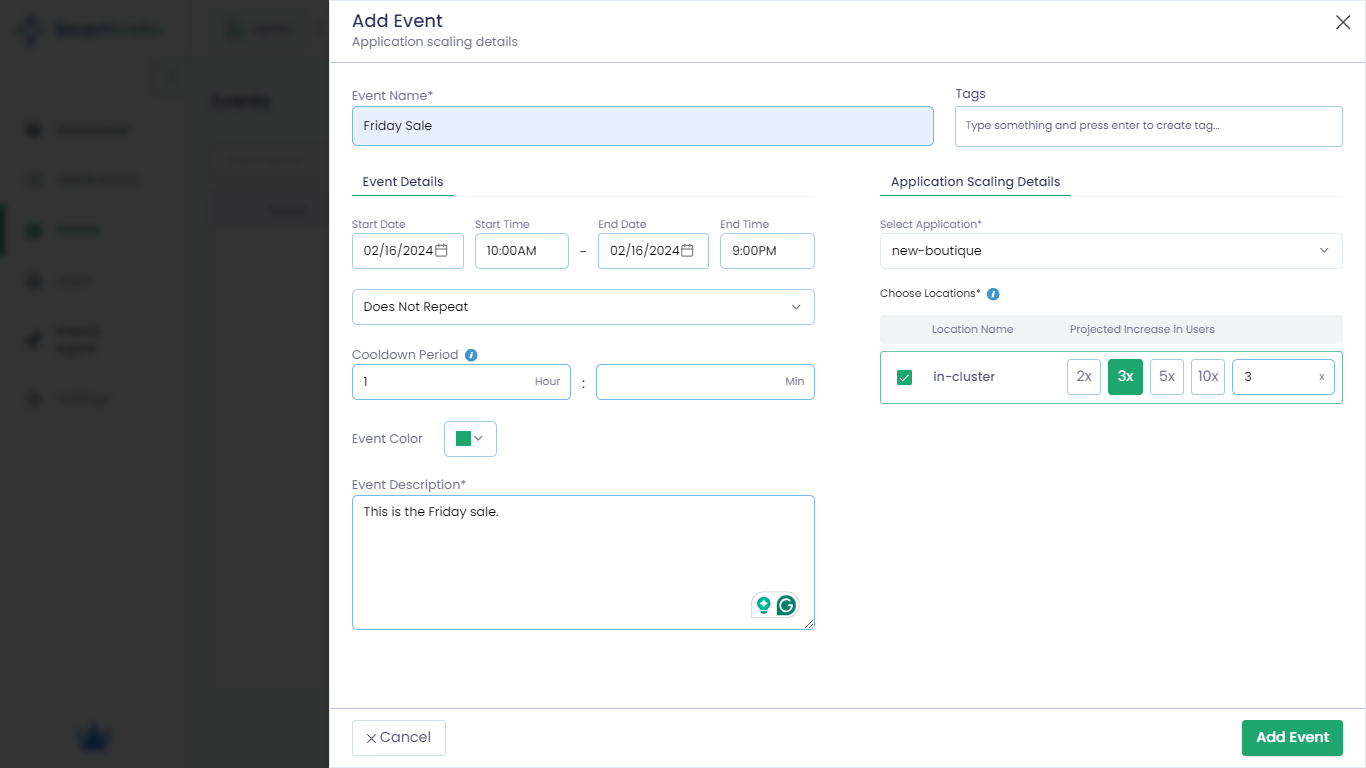
-
-
-
Click the Add Event button.
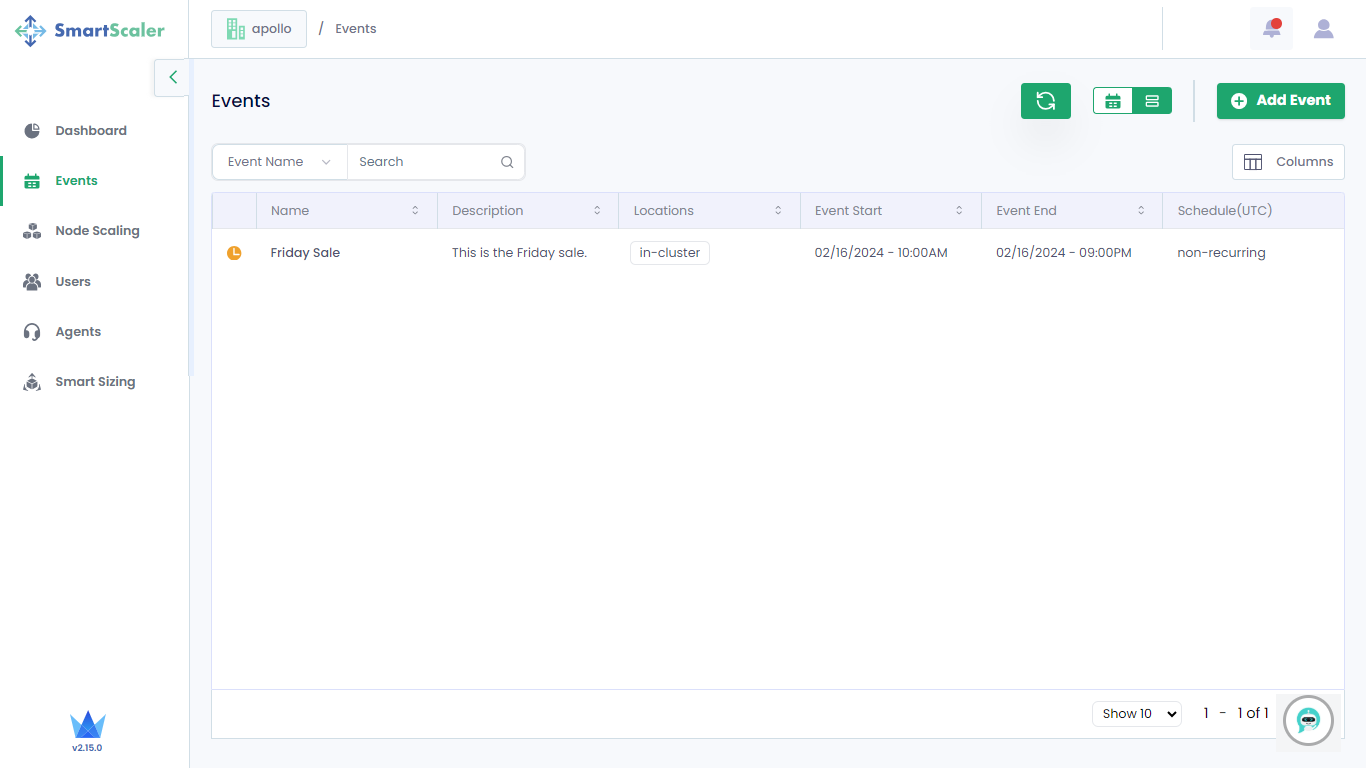
The following figure illustrates that the event addition is in progress.
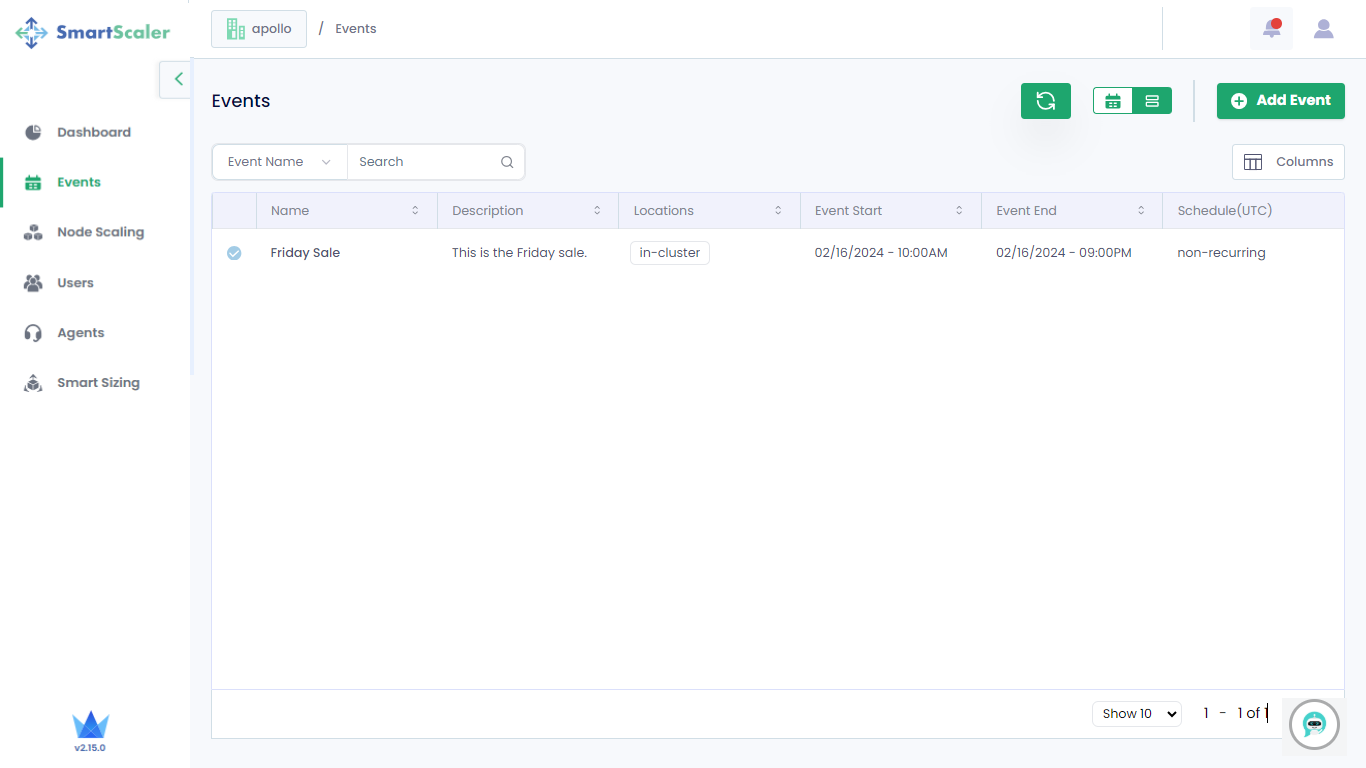
The following figure illustrates that the event is added successfully.
Edit an Event
To edit an event:
-
Go to the Events tab on the left sidebar of the management console.
-
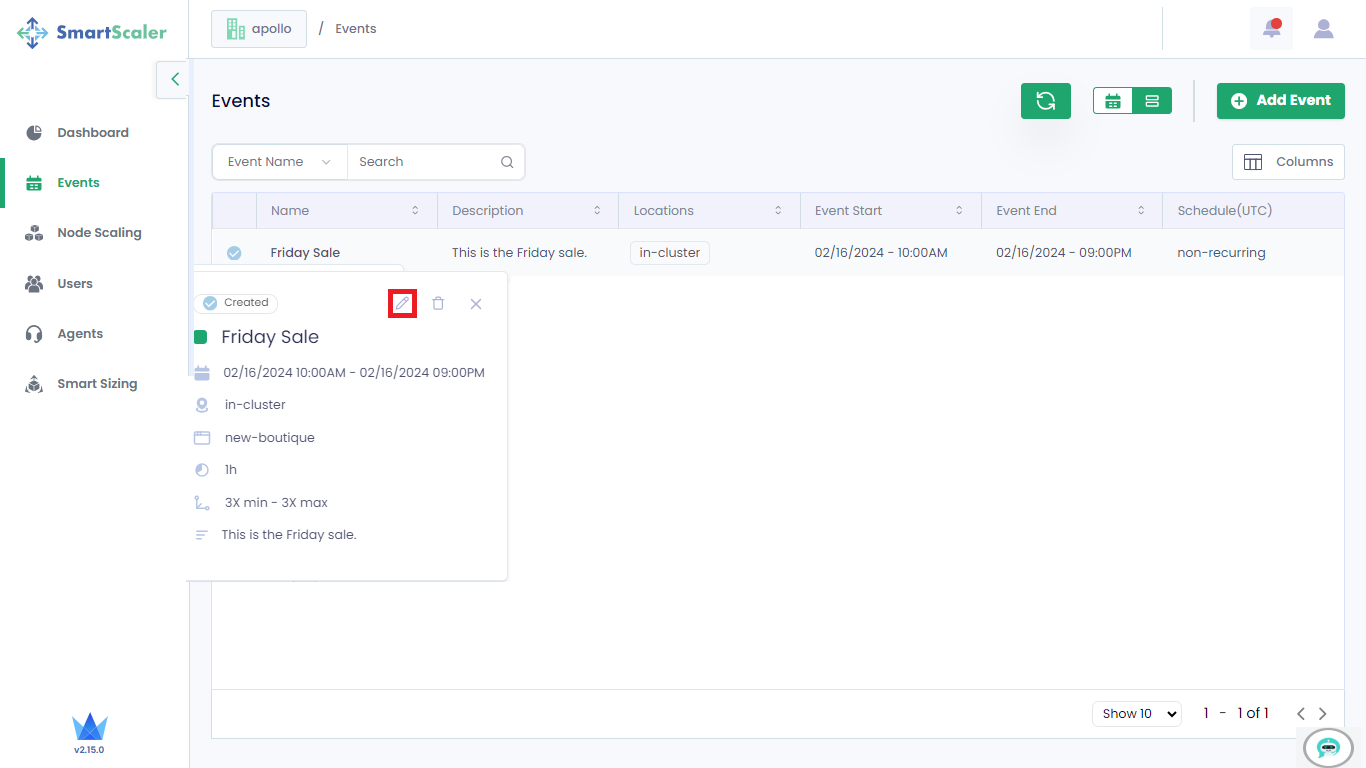
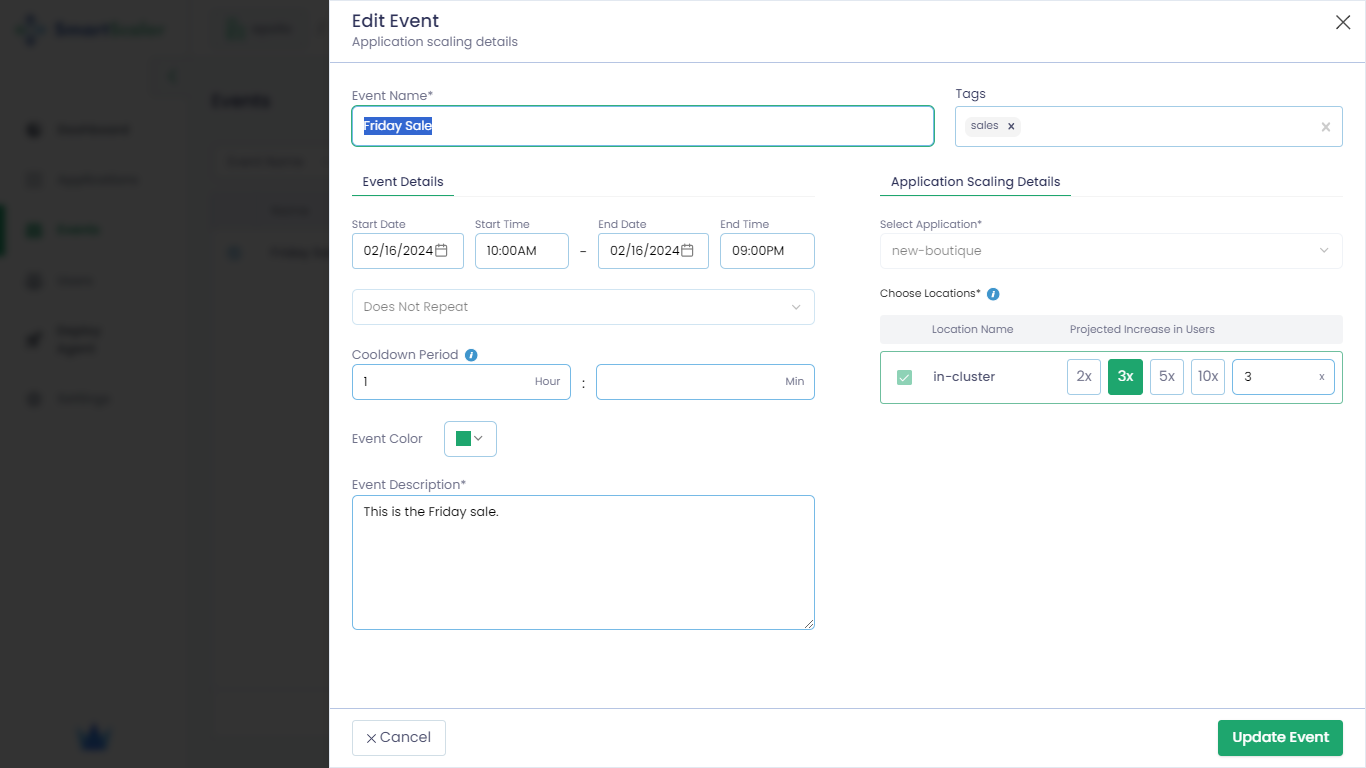
On the Events page, select the event and click the edit icon and update the required fields.
-
Click the Update button to save the settings.
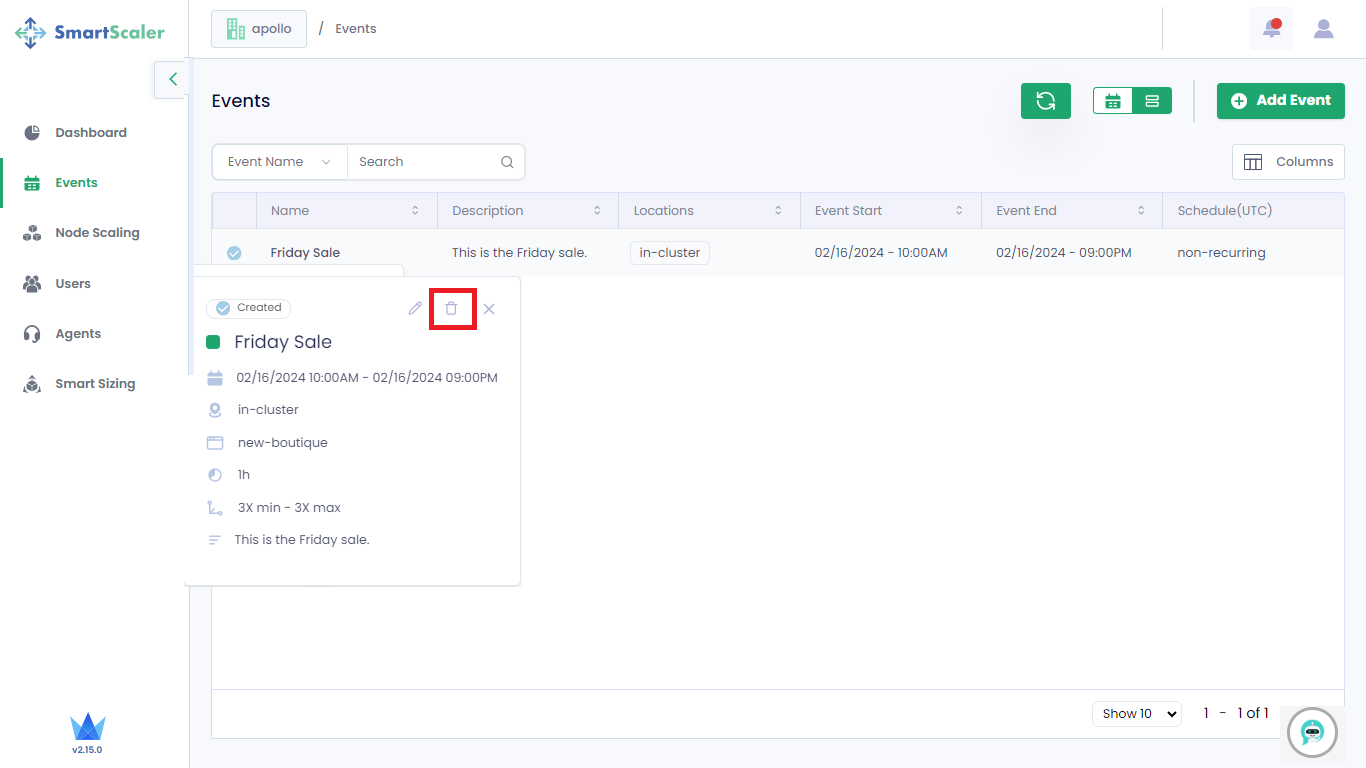
Delete an Event
To delete an event:
-
Go to the Events tab on the left sidebar of the management console.
-
On the Events page, select the event and click the delete icon.
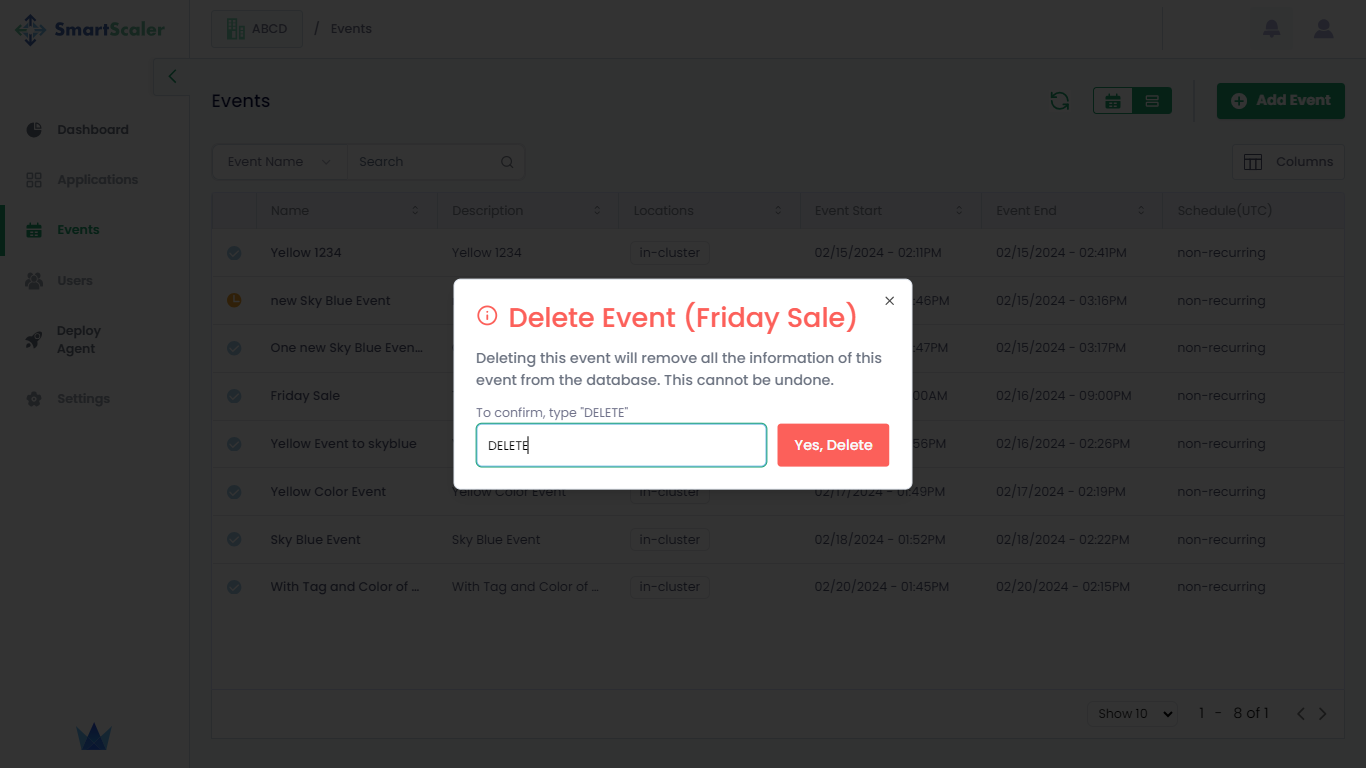
-
Enter DELETE to confirm the event deletion.
Recurring Event
For event scaling with Smart Scaler agent versions 2.9.28 or earlier, each application deployment in a namespace must have its own configured HPA. Without an individual HPA, event scaling fails.
However, starting with Smart Scaler agent versions 2.9.29 and later, event scaling no longer requires an individual HPA for each application deployment.
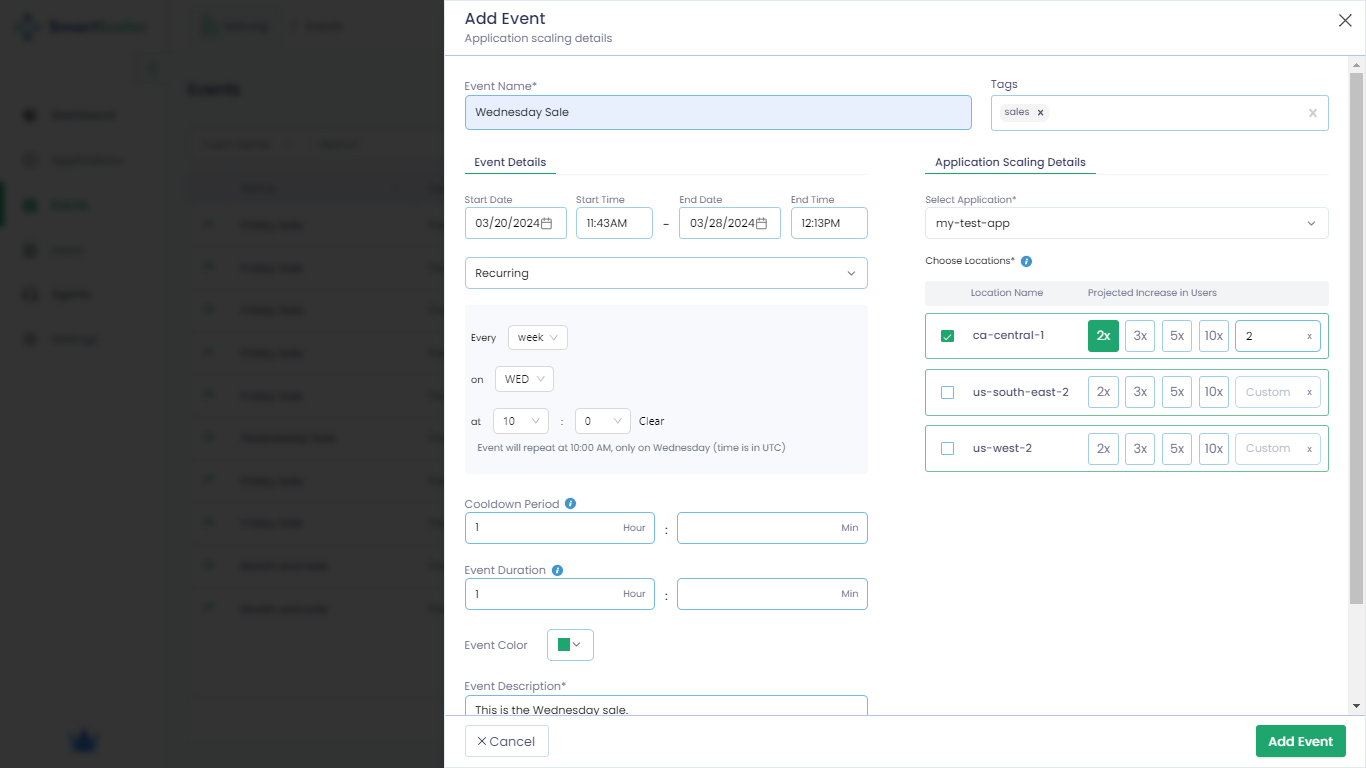
Add a Recurring Event
The addition of recurring events is immutable. After the addition, it cannot be edited or deleted. You must ensure that you enter the correct details.
To add a recurring event:
-
Go to the Events tab on the left sidebar of the Smart Scaler management console.
-
On the Events page, click the Add Event button to add a new event.
-
On the Add Events page, enter the following details:
-
Enter the name of the event in the Event Name text box.
-
Under Event Details, enter the duration of an event.
- Set the
Start DateandStart Timeof the event. - Set the
End DateandEnd Timeof the event.
- Set the
-
Select Recurring for a recurring event.
-
You can schedule the recurring events using cron expressions. To know more, see crontab guru.
-
Enter the number of hours in the Cooldown Period text box. It is the cooling period to handle the overhead incoming traffic after the event ends. The default value is one hour.
-
Enter the duration of the events in the Event Duration test box.
-
Set the color from the Event Color drop-down list. The default color is green.
-
Enter a short description to describe the event in the Event Description text box.
-
(Optional) Enter a tag that would serve as a label to identify this event in the Tags text box. For example, add the tag
salesfor the sales event. -
Under Application Scaling Details, select the following:
-
From the Select Application drop-down list, choose your application.
-
Under the Choose Locations drop-down list, select the cluster. For example, select the
ca-central-1cluster where themy-test-appapplication is installed and select the value 2x for the projected increase in users. The value 2x is selected based on the expected incoming traffic at the time of the event.
-
-
-
Click the Add Event button.
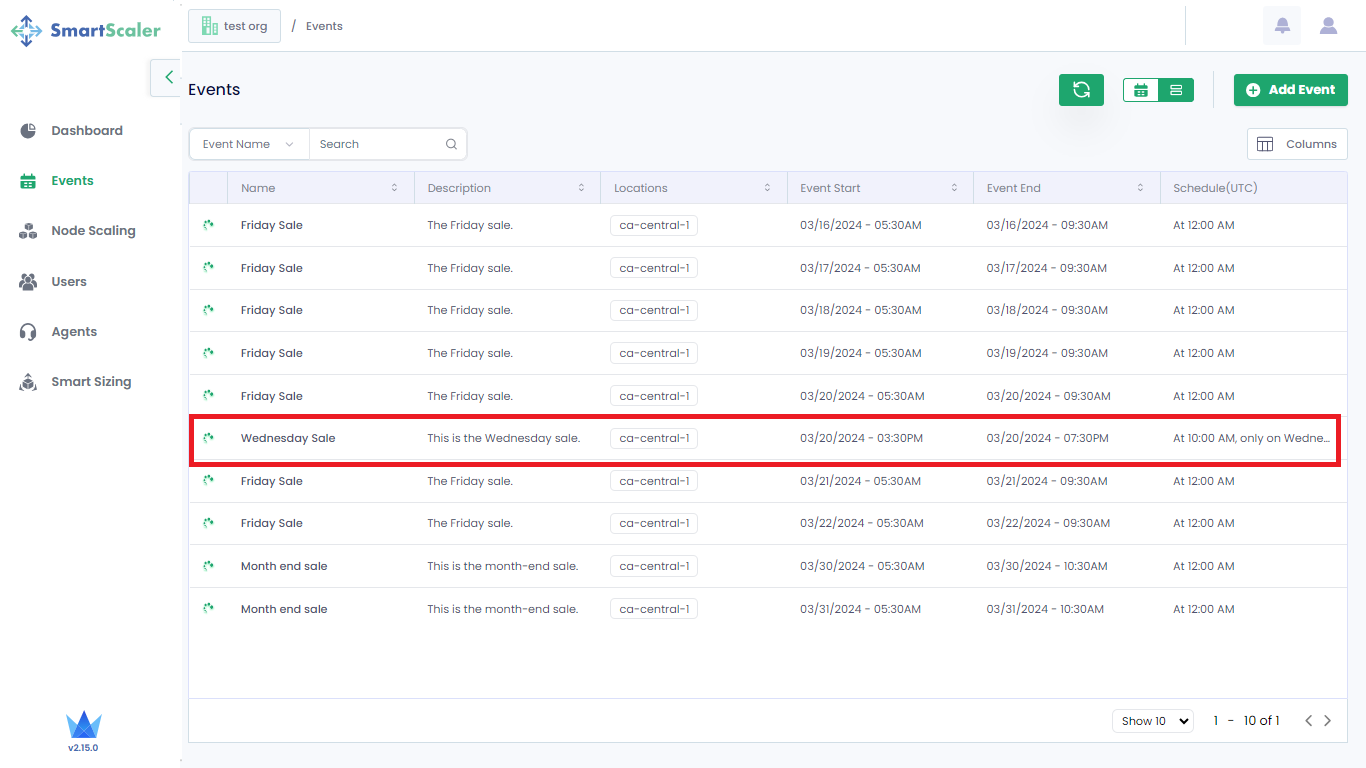
The following figures illustrates that the event is added successfully.
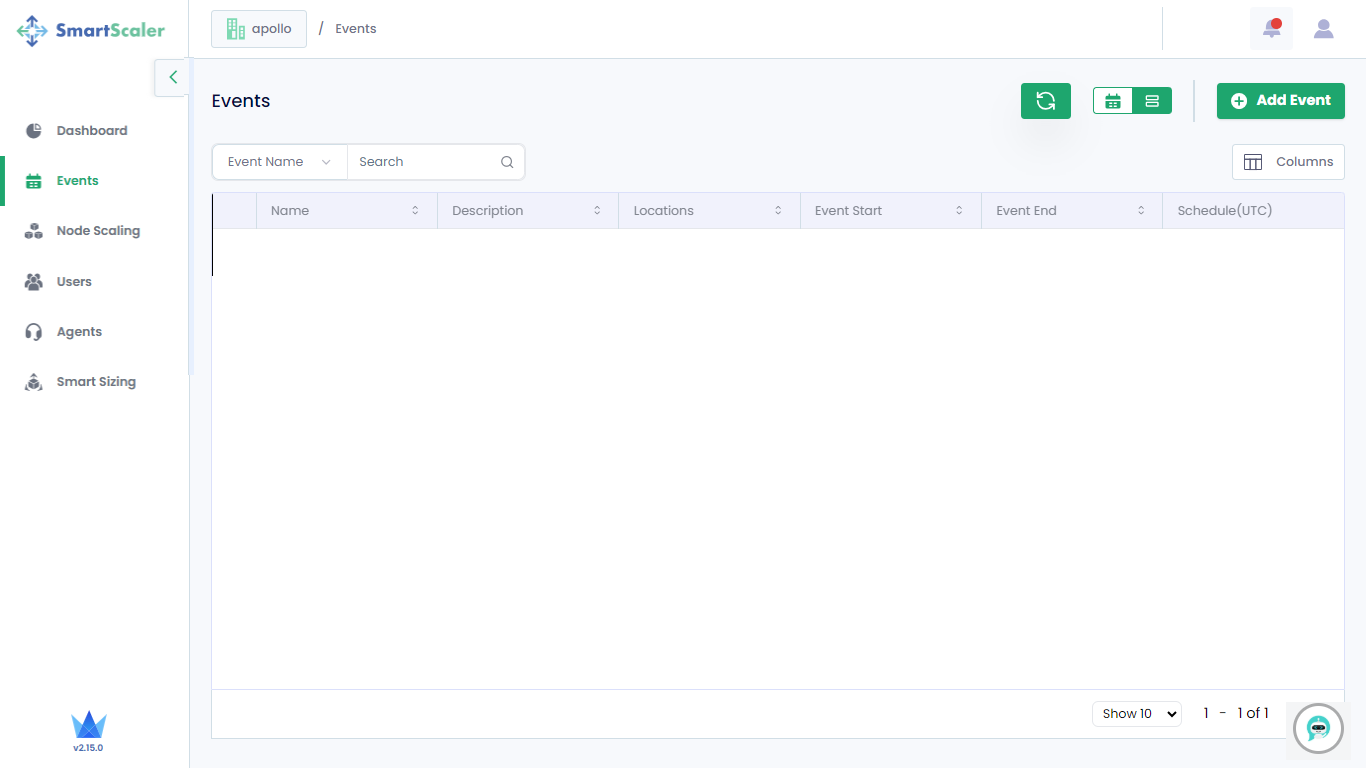
View Events
To view scheduled events:
-
Go to the Events tab on the left sidebar of the management console.
-
On the Events page, you see the events currently in progress and the upcoming events.
The following details of events are available as separate tabular columns:
- Name
- Description
- Locations
- Start Date
- Start Time
- End Date
- End Time
- Schedule
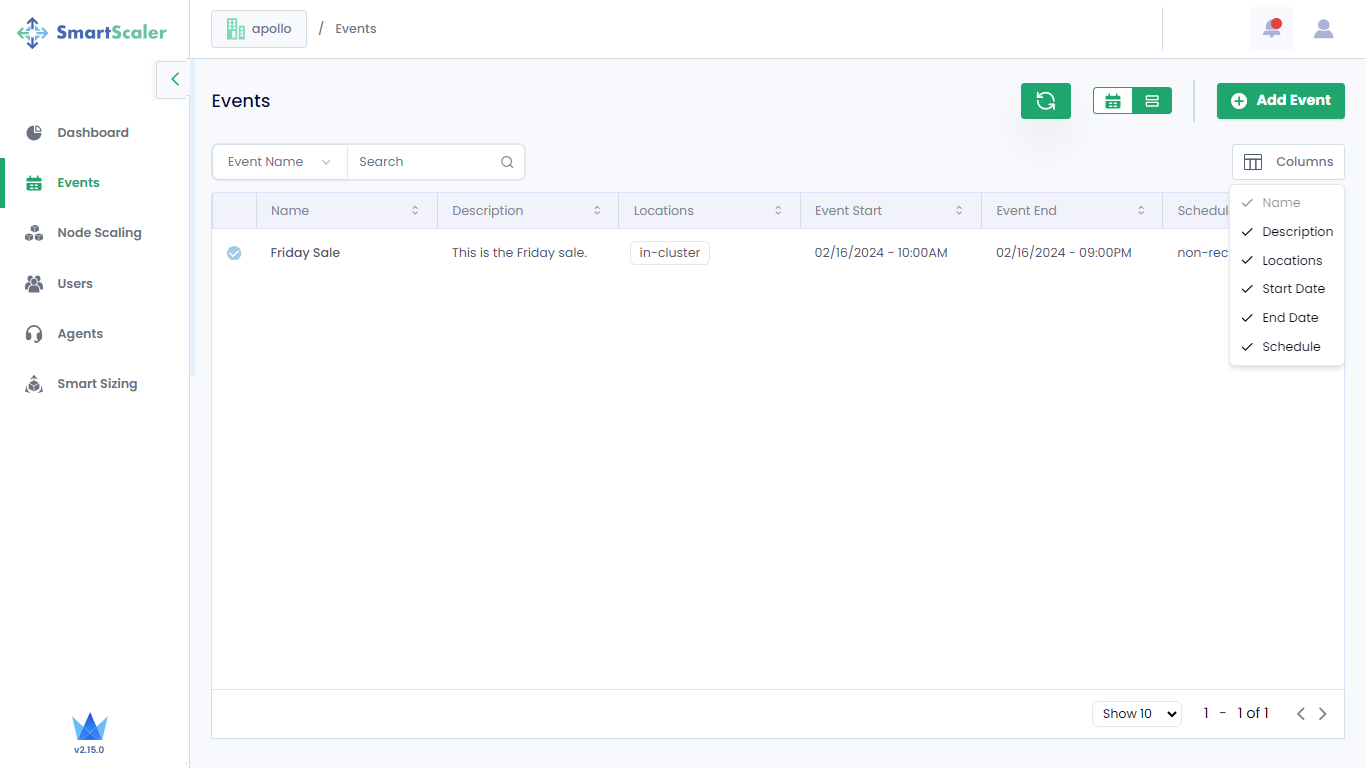
You can select the columns to view on the Events page.
In the search box, enter the value depending on the search parameters to find an event.
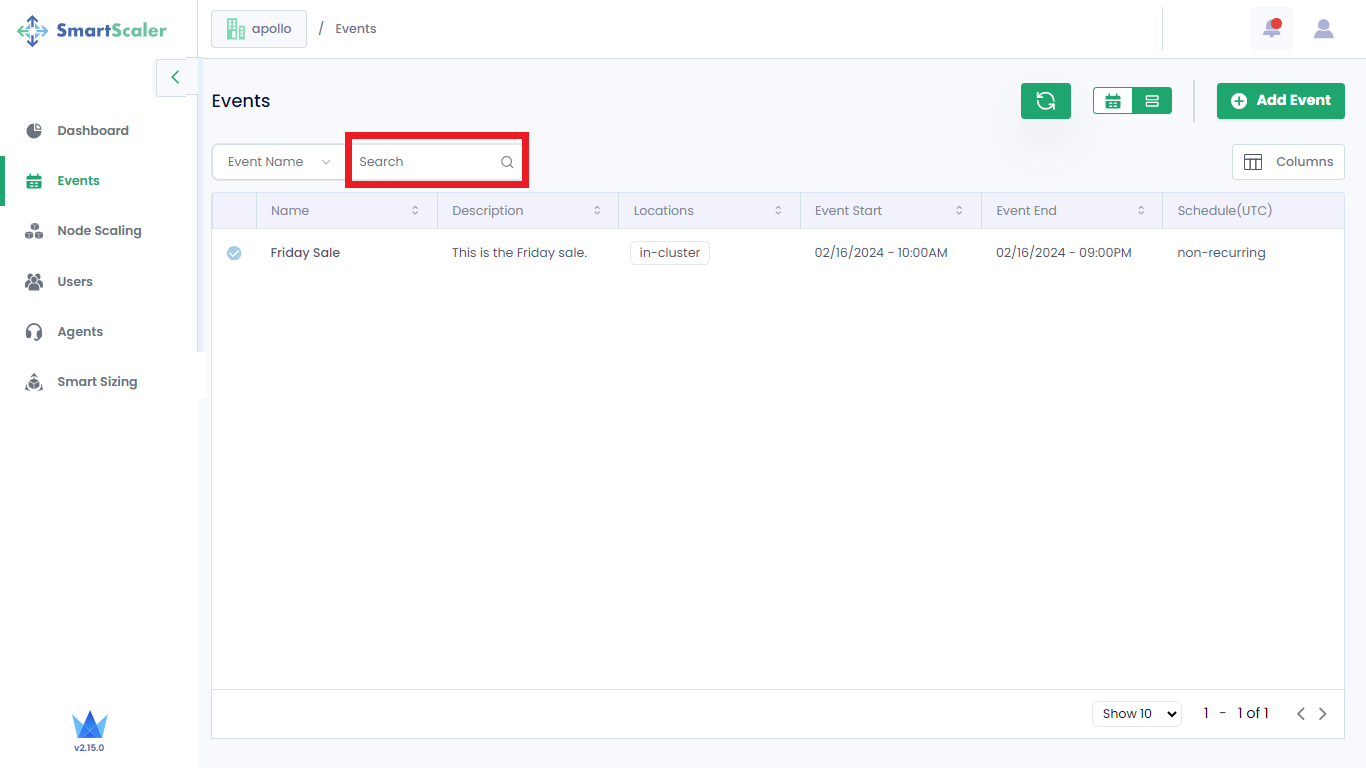
In the grid view, you see the events currently in progress and the upcoming events. You can see the finished events and upcoming events in the calendar view.
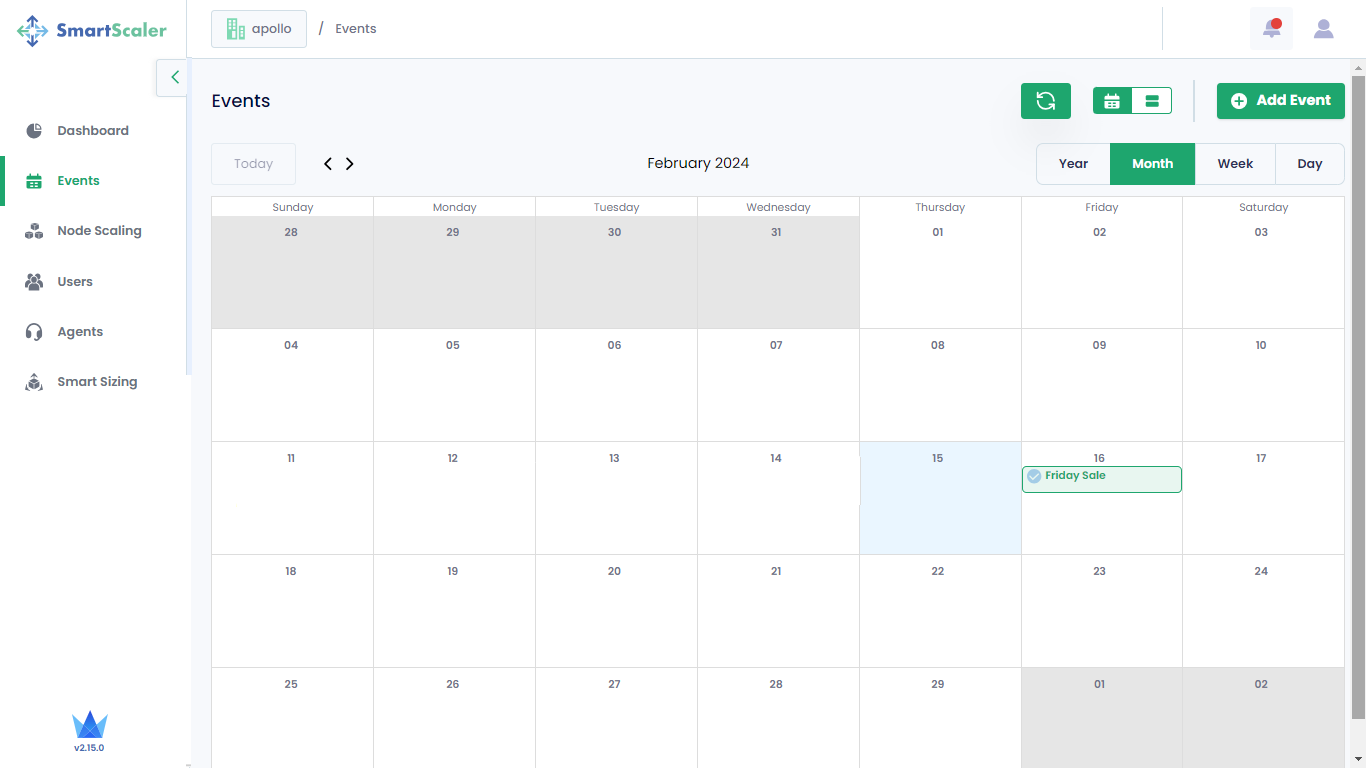
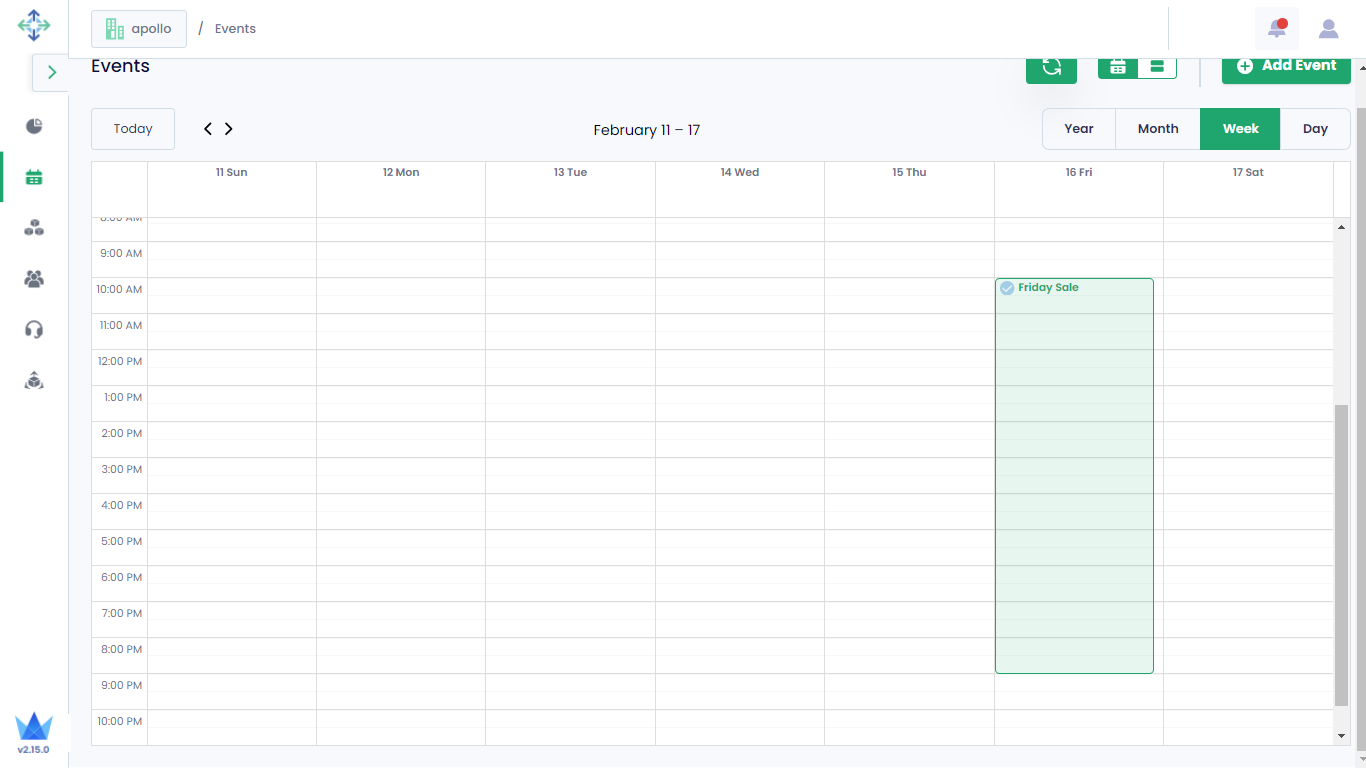
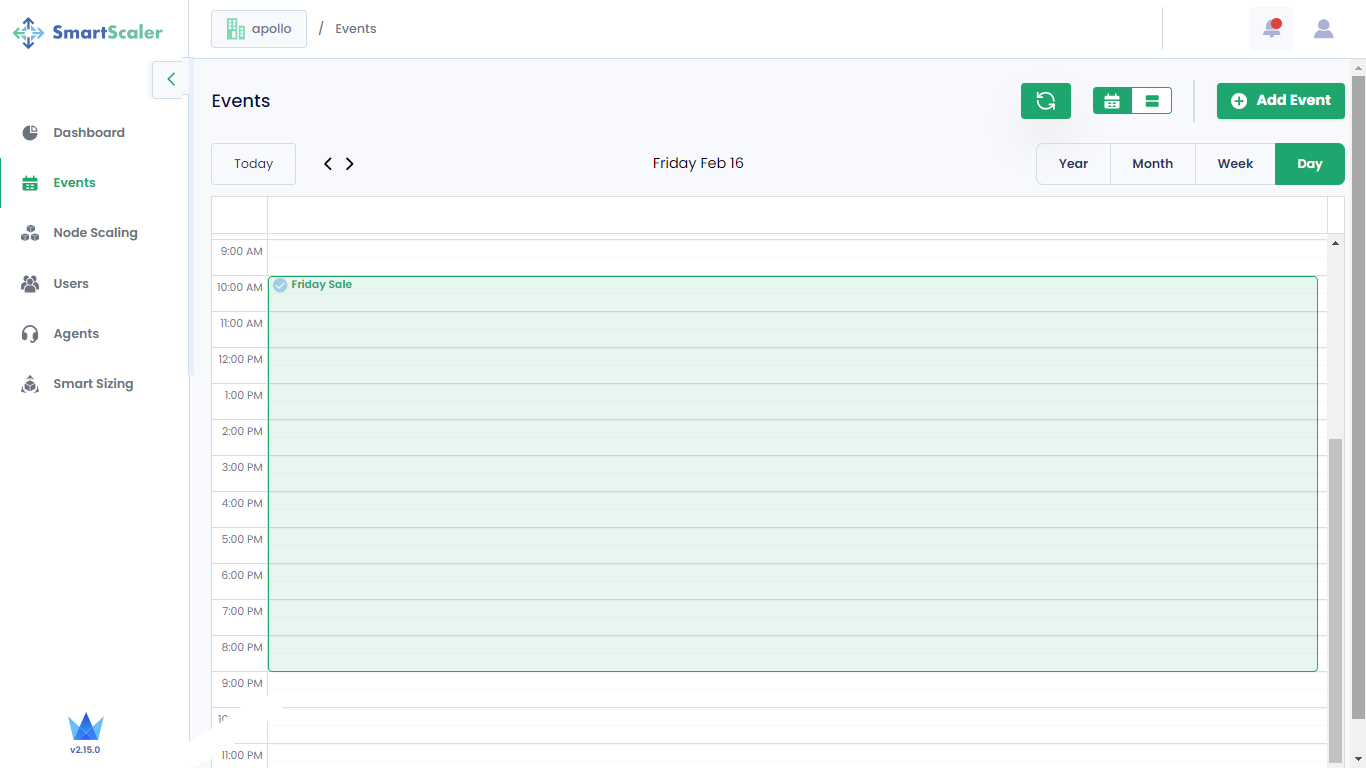
View Consolidated Events
You can view the consolidated events at a time in the calendar view, which helps to keep track of the upcoming events.
To open the calendar view, on the Events page, click the calendar icon. By default, you see the yearly events.
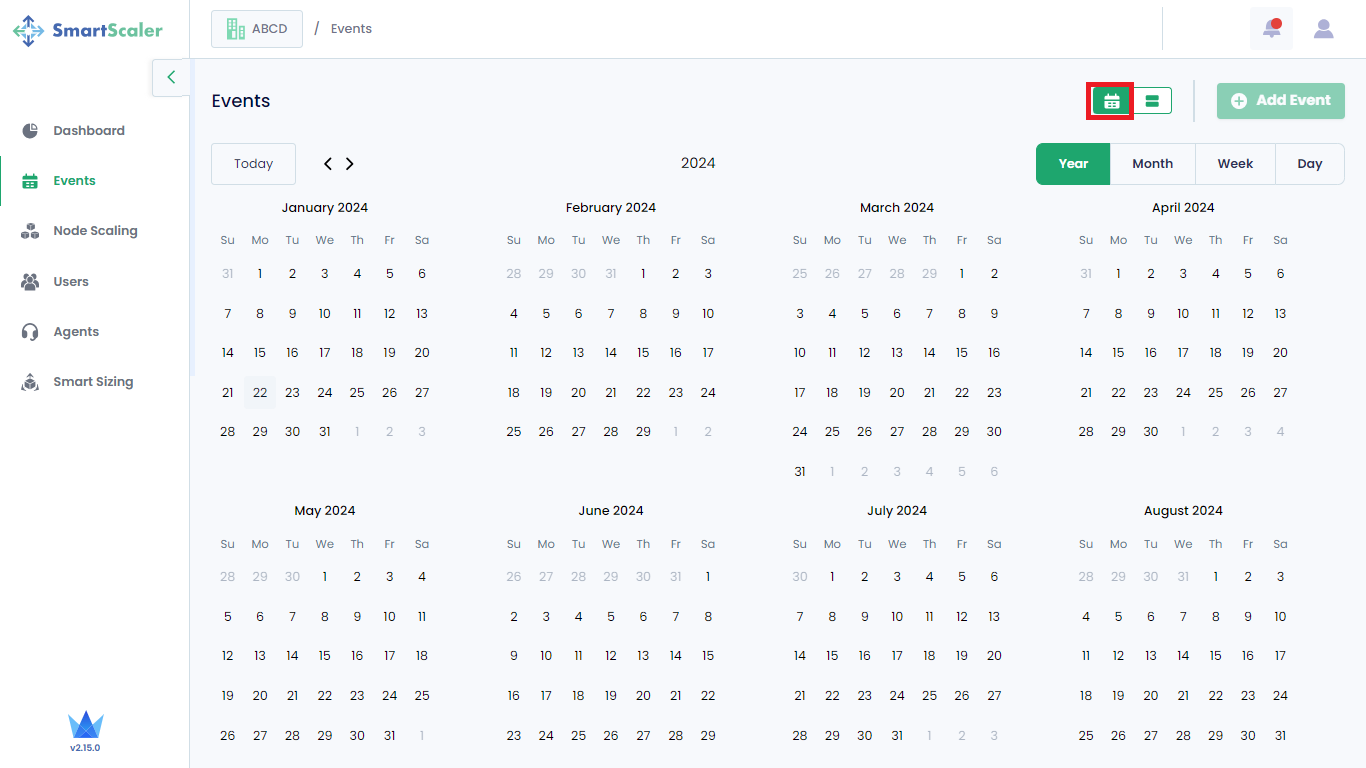
To see the monthly events, click the Month button.
To see the weekly events, click the Week button.
To see the daily events, click the Day button.
Event Statuses
You see the different icons for the events that indicate the current status of the events. The following image provides the list of various statuses of an event.
![]()