Access the Admin Portal
This topic describes the steps to access the EGS admin portal. After you install EGS, get the URL to log in to the admin portal.
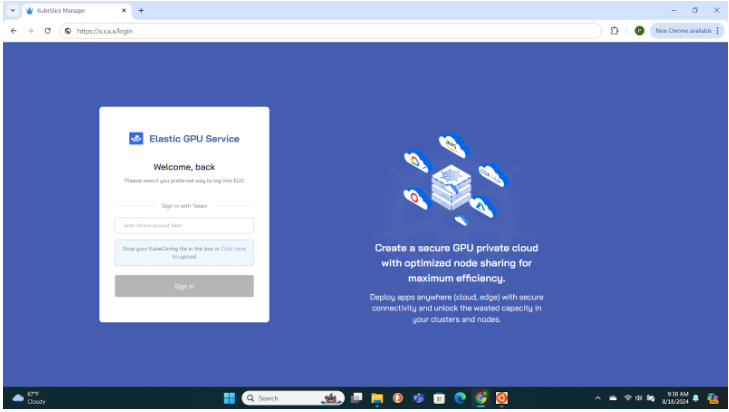
Admins can access the EGS UI portal using these methods:
- Using Access Token
- Using IDP Access Token (when cluster and EGS is enabled with IdP integration)
Across our documentation, we refer to the workspace as the slice workspace. The two terms are used interchangeably.
Retrieve the Access Token Using the Script
An admin access token will be created in the system as part of the installation by default. The fetch_egs_slice_token.sh is the
bash script designed to retrieve tokens for Kubernetes slice workspaces and admin users within a specified project or namespace. This
script can fetch read-only, read-write, and admin tokens based on the provided arguments, making it flexible for various
Kubernetes authentication requirements.
Syntax
The following the syntax to run the script:
./fetch_egs_slice_token.sh -k <kubeconfig_absolute_path> [-s <slice_name>] -p <project_name> [-a] -u <username1,username2,...>
Options
The following are the options:
| Options | Shorthand | Description | Required |
|---|---|---|---|
| --kubeconfig | -k | This is the absolute path to the kubeconfig file used to connect to the Kubernetes cluster. | Required |
| --slice | -s | This is the name of the slice workspace for which the tokens are to be retrieved. | Optional if optino -a is provided |
| --project | -p | This is the name of the project (namespace) where the slice workspace is located. | Required |
| --admin | -a | This is to fetch admin tokens for specified usernames. Using this option makes --slice optional). | Optional |
| --username | -u | This is the comma-separated list of usernames for fetching admin tokens. | Required with the option -a |
| --help | -h | This displays help message. | Optional |
Fetch the Access Token
The following are the examples to fetch the slice workspace and the admin tokens.
Fetch the Slice Token
Retrieve read-only and read-write tokens for a specified slice workspace. The following is the example
command to fetch token for the pool1 slice workspace in the namespace kubeslice-avesha in the avesha project.
./fetch_egs_slice_token.sh -k /path/to/kubeconfig -s pool1 -p avesha
Starting with version 1.10.1, an owner role-based API token generated for a slice workspace also serves as a token to access the User Portal. To know more, see API token.
Fetch the Admin Token
Fetch admin token for specific user. When the -a flag is used, --slice becomes optional.
The following is the example command to fetch admin tokens for admin and dev users in the kubeslice-avesha` namespace.
./fetch_egs_slice_token.sh -k /path/to/kubeconfig -p avesha -a -u admin,dev
Fetch the Slice Workspace and the Admin Tokens
Retrieve the slice workspace token and the admin token using a single command. The following is the command to
retrieve both read-only and read-write tokens for the pool1 slice workspace and admin tokens for the admin and the dev users in
the kubeslice-avesha namespace.
./fetch_egs_slice_token.sh -k /path/to/kubeconfig -s pool1 -p avesha -a -u admin,dev
Retrieve the Access Token Using Command
You can use the following command to retrieve the admin access token:
kubectl get secret kubeslice-rbac-rw-admin -o jsonpath="{.data.token}" -n kubeslice-avesha | base64 --decode
Copy the admin access token to use it to login to the admin portal.
Get the Admin Portal URL
The LoadBalance external IP is used to access the EGS admin/user portals.
Use the following command to access the Load Balancer IP:
Example
kubectl get svc -n kubeslice-controller | grep kubeslice-ui-proxy
Example Output
NAME                                                      TYPE           CLUSTER-IP    EXTERNAL-IP    PORT(S)         AGE
kubeslice-ui-proxy                                        LoadBalancer   10.96.2.238   172.18.255.201 443:31751/TCP   24h
Note down the LoadBalancer external IP of the kubeslice-ui-proxy pod. In the above example, 172.18.255.201 is
the external IP. The EGS Portal URL will be https://<ui-proxy-ip>.
Login to the Admin Portal
Log in to the EGS portal using the URL from the previous step. Use the admin access token to log in to the Admin Portal.