Manage GPU Requests
View and manage the GPU provision requests (GPRs) queue in a project.
View GPRs Across the Slice Workspaces
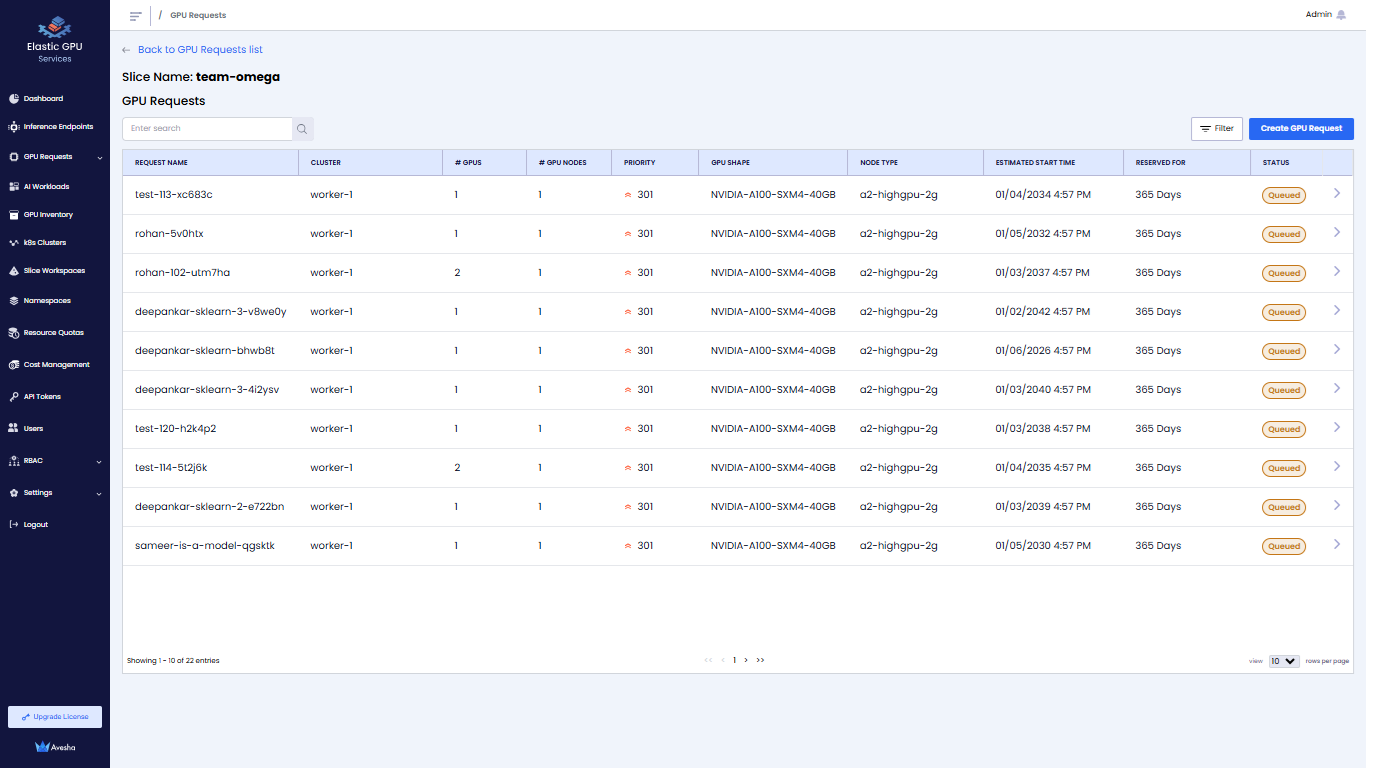
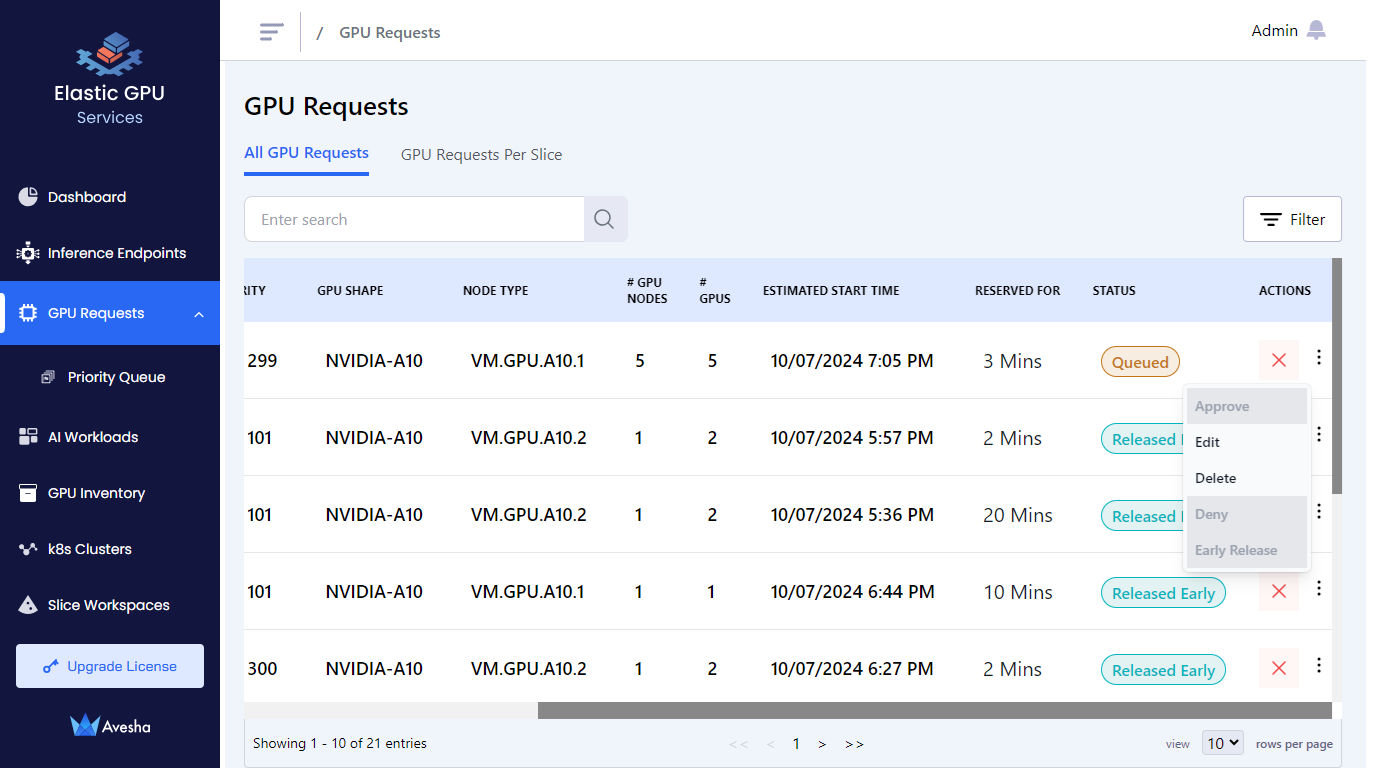
Go to GPU Requests on the left sidebar. The All GPU Requests tab shows all the GPU requests across all the slice workspaces in a project for an admin.

Use the Search textbox or Filter to filter the GPRs.
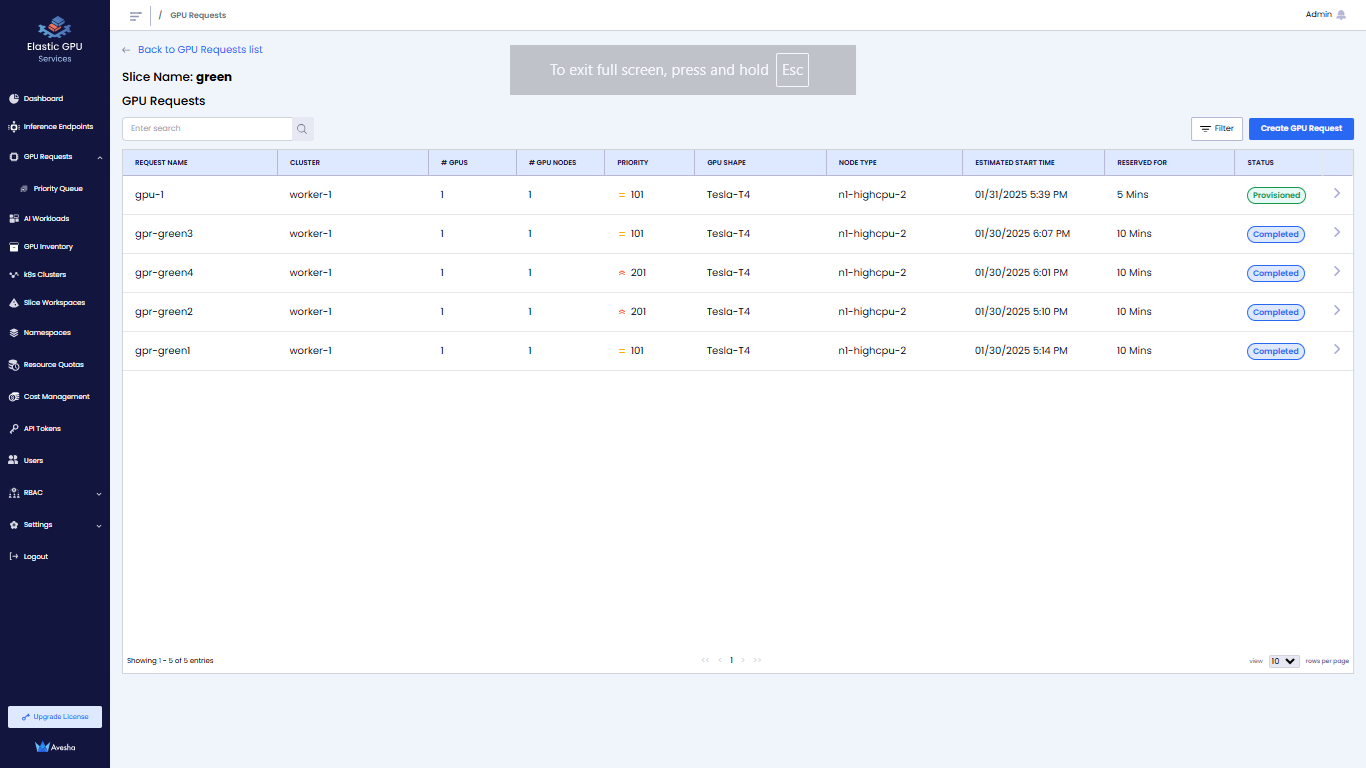
View the GPRs Specific to a Slice Workspace
On the GPU Requests page, go to the GPU Requests Per Slice tab, and click the slice workspace to see its specific GPRs.
Create GPRs
You can create GPRs as a slice workspace user or an admin.
To create a GPR:
-
On the GPU Requests page, go to the GPU Requests Per Slice tab.
-
In the slice workspace list, click the slice workspace for which you want to create a GPR.
-
Click Create GPU Request.
-
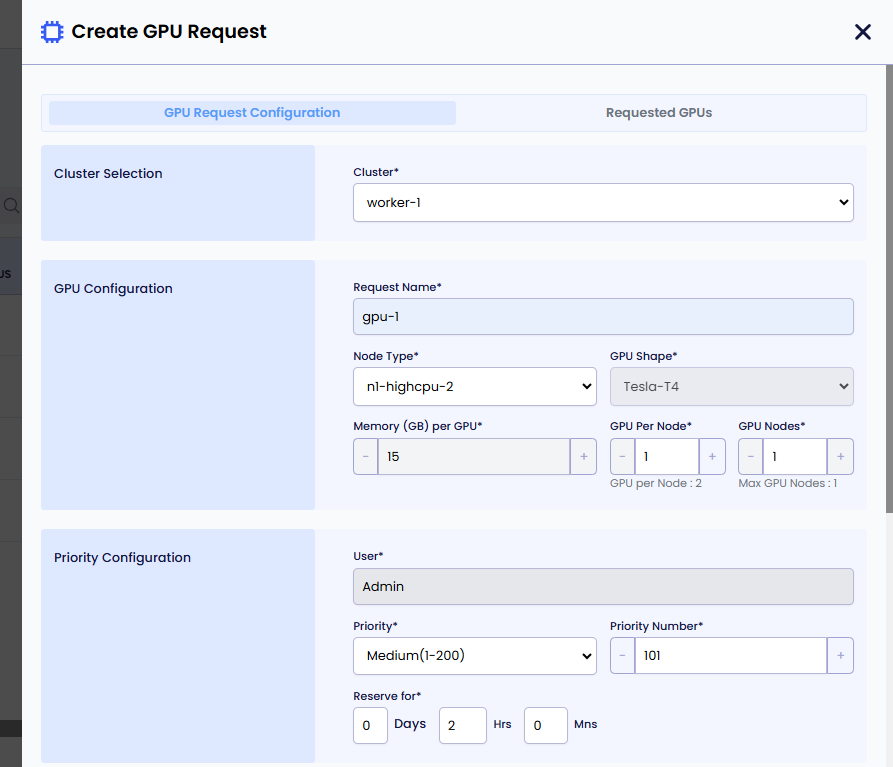
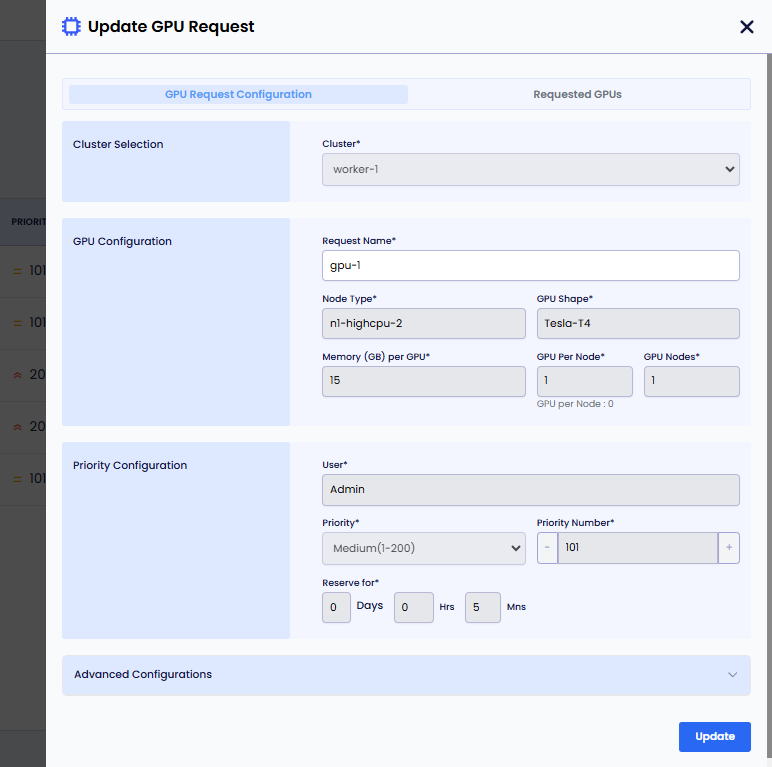
On the Create GPU Request page, add the request details:
-
For Cluster Selection, from the Cluster drop-down list, select a cluster for which you want to request GPU nodes.
-
For GPU Configuration:
-
Enter a name in the Request Name text box.
-
Select Node Type from its drop-down list. The GPU Shape is auto populated.
-
For a Multi-Instance GPU (MIG) node, Memory per GPU contains a drop-down list with memory profiles with a default node profile. Based on the number of GPU nodes and GPUs per node, select the MIG node memory profile.
For a regular (non-MIG) GPU node, the** Memory per GPU** is auto-populated.
-
Set the GPU Per Node if you want to change its default value, 1.
-
Set the GPU Nodes if you want to change its default value, 1.
-
-
For Priority Configuration:
-
User is auto populated.
-
Set Priority. The default value is Medium (101-200).
You can change the priority of a GPR in the queue. You can change the priority number (low: 1-100, medium: 101-200, high: 201-300) to move a GPR in the queue. When a GPR is moved to the top of the queue, it is provisioned when the resources are available to provision the GPR.
-
Set Priority Number. The default value is 101
-
Specify Reserve for duration in Days, Hrs, and Mns.
-
-
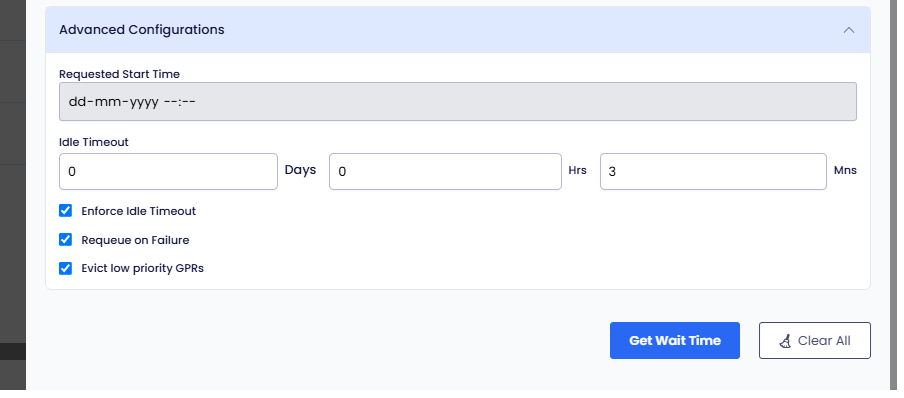
Expand Advanced Configuration and:
-
(Optional) Set the idle time out to allow the GPU nodes to be used after the configured length of the time that it can be idle. This allows other GPRs to use the unused provisioned GPU nodes.
-
(Optional) To make the idle timeout to be effective, the Enforce Idle Timeout is auto selected. If you want to only configure the timeout without enforcing, then unselect this checkbox.
-
(Optional) Select the Requeue on Failure check box if you want to queue this GPR in case it fails.
EGS auto detects issues with one or more GPUs in the provisioned GPR. EGS removes that related GPR from the slice workspace and re-queues that GPR.
-
(Optional) Select the Evict low priority GPRs to configure auto eviction of a low-priority GPR.
-
Click the Get Wait Time button. Clicking Get Wait Time automatically switches to the Request GPU tab.
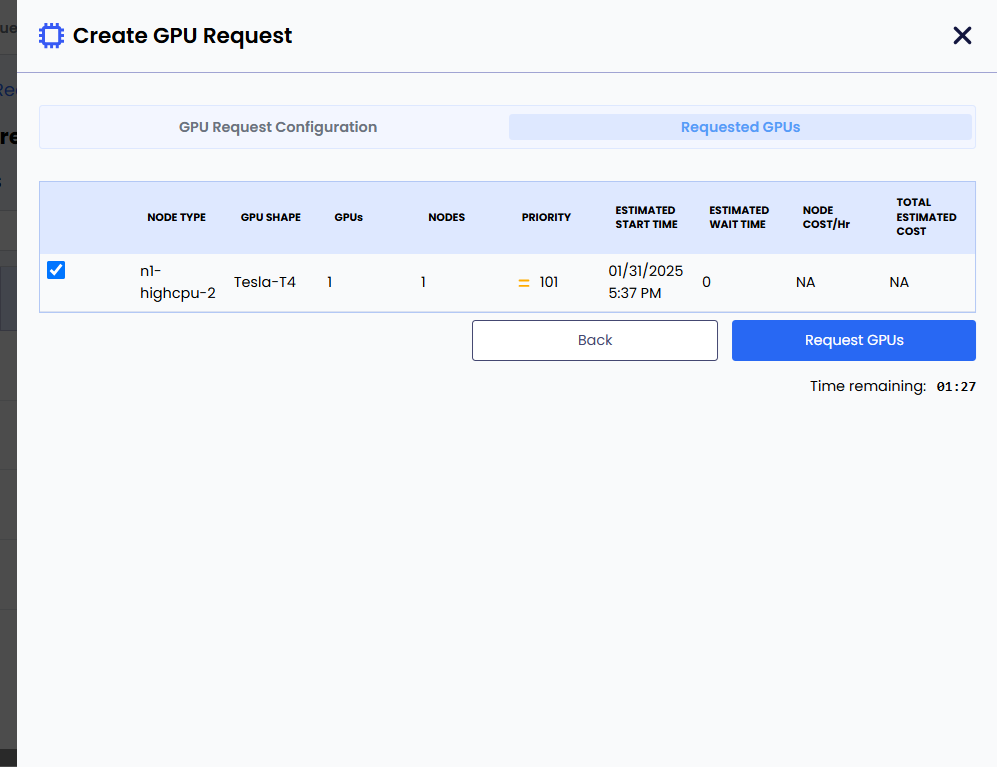
EGS shows the estimated wait time for the GPU nodes provisioning.
-
-
Select the GPU in the Available GPUs table with acceptable estimated wait time.
-
Click Request GPUs.
-
-
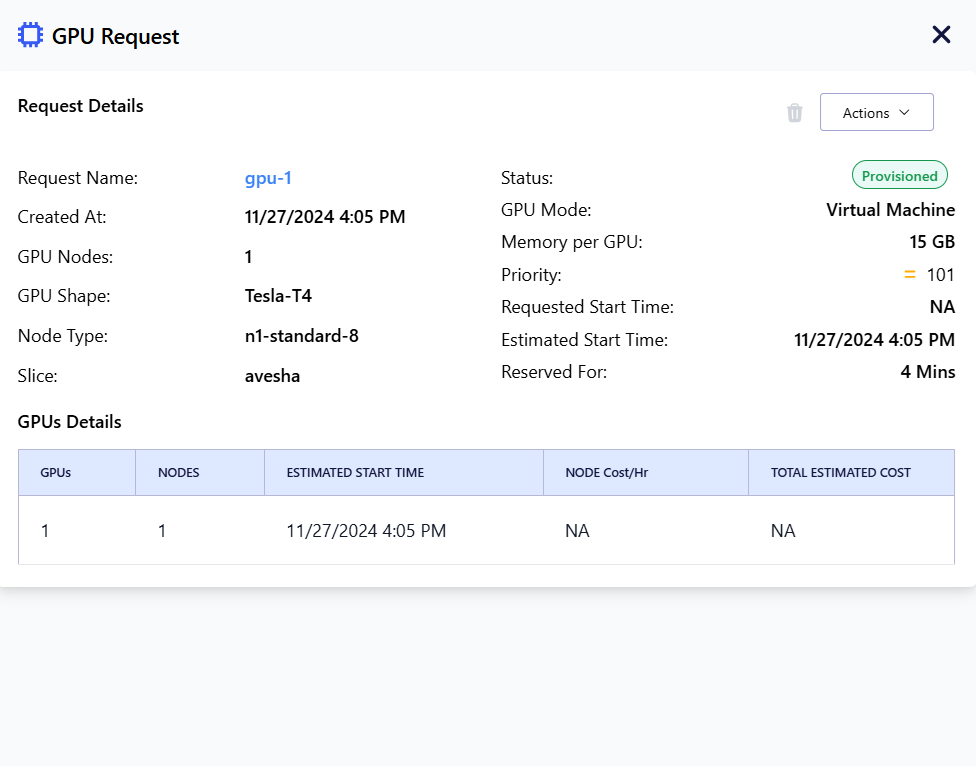
View the GPR in the User's GPU Requests queue.
-
Click GPR to view request details.
Manage GPR Queues
The GPR Queue helps to visualize and control how GPU requests created under various slice workspaces would be processed. As an admin, one can track queues for each cluster and node instances and change the execution order by adjusting priority.
Change GPR Priority
Expand the GPU Requests on the left side bar to see the Priority Queue. The Priority Queue page shows the priority of the GPRs.
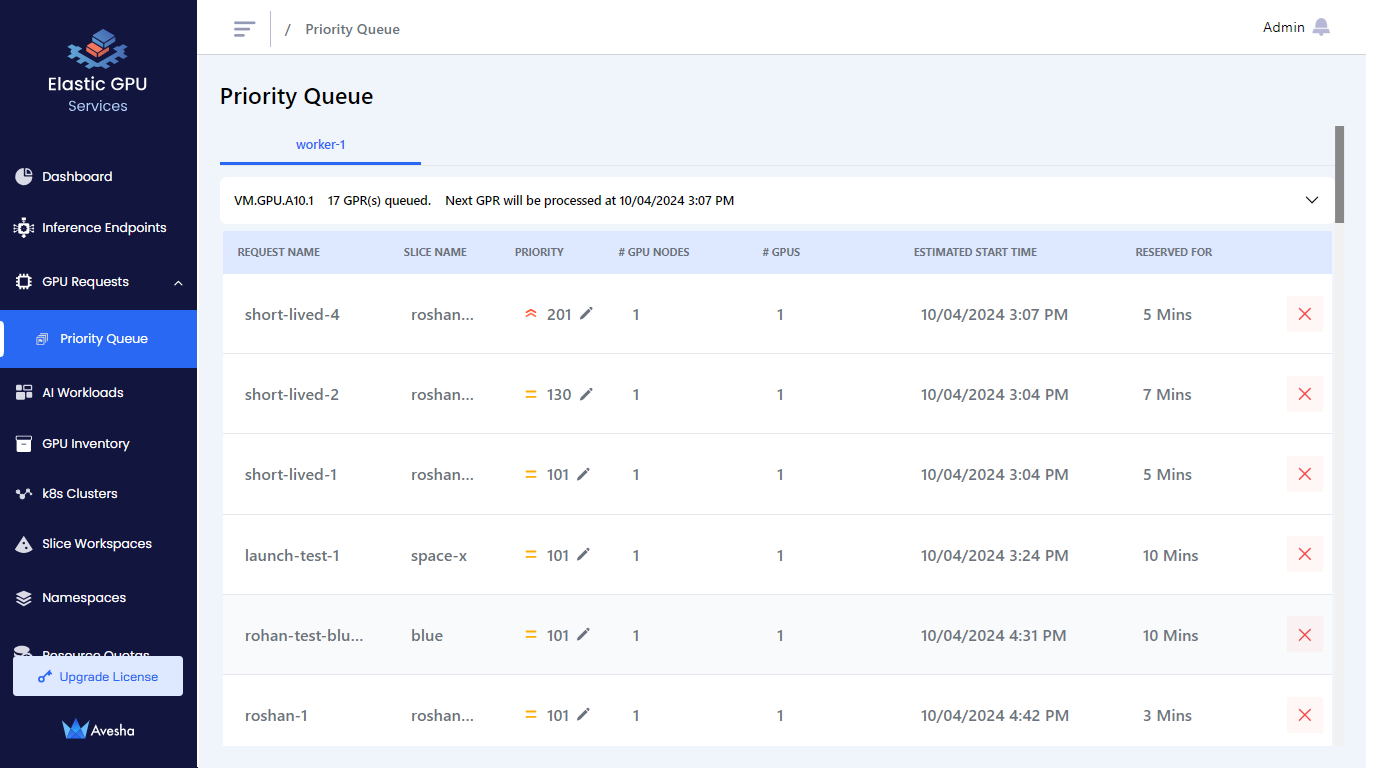
You can change the priority of a GPR in the queue. You can select a GPR and increase the priority number (low: 1-100, medium: 101-200, high: 201-300) to move a GPR higher in the queue. When a GPR is moved to the top of the queue, it is provisioned when the resources are available to provision the GPR.
Edit a GPR
-
For a queued GPR, under Actions, expand the vertical ellipsis menu, and click Edit.
-
After editing the values, click Update.
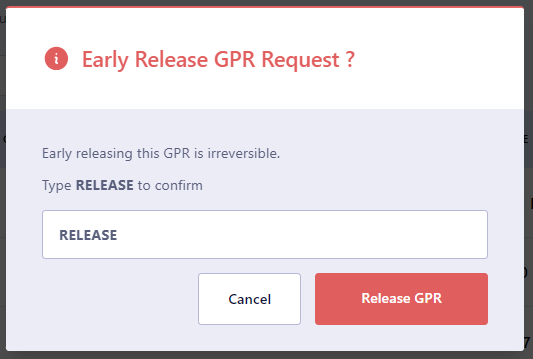
Early Release a Provisioned GPR
You can early release a provisioned GPR. The early release of a GPR removes the associated GPU nodes from the slice workspace.
You can use this workflow to free up GPUs to provision a higher priority GPR. You can use this workflow for any other admin operations or under utilization of GPU resources, user requests, and so on.
To early release a provisioned GPR:
-
On the GPU Requests page, under Actions, expand the vertical ellipsis, and click Early Release from the menu.
-
On the confirmation dialog, enter RELEASE and click Release GPR.
GPR Eviction
You can early release provisioned GPRs and make required nodes available for the high priority top GPR to be provisioned.
You can see a list of GPRs that needs to be evicted to provision the top GPR. You can manually early-release the GPRs to make room for the top GPR.
Delete a GPR
You as an admin can delete a GPR that is queued.
-
Go to the GPU Requests on the left sidebar.
-
Identify the GPR which is Queued.
-
Under Action column of that GPR, click x mark to delete it or choose Delete from the Actions menu by pulling up the vertical ellipsis.
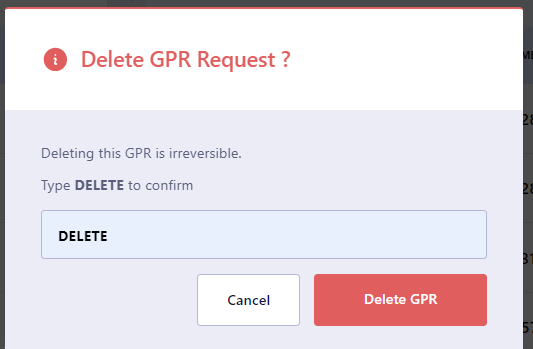
-
On the confirmation dialog, enter DELETE and click Delete GPR.