Onboard Namespaces
You can add onboard namespaces from connected clusters onto a slice.
If you have added the namespace for a slice, use that namespace. You can use the namespace added for a slice. To add the namespace for a slice, see onboard existing namespaces.
Otherwise, create a new namespace for the user by using the following command:
kubectl create ns <>
Example
kubectl create ns peter-workspace
Expected Output
namespace/peter-workspace created
Retrieve the namespace using the following command:
kubectl get ns <namespace>
Example
kubectl get ns peter-workspace
Expected Output
NAME              STATUS   AGE
peter-workspace   Active   8s
Onboard Existing Namespaces
To onboard namespaces:
-
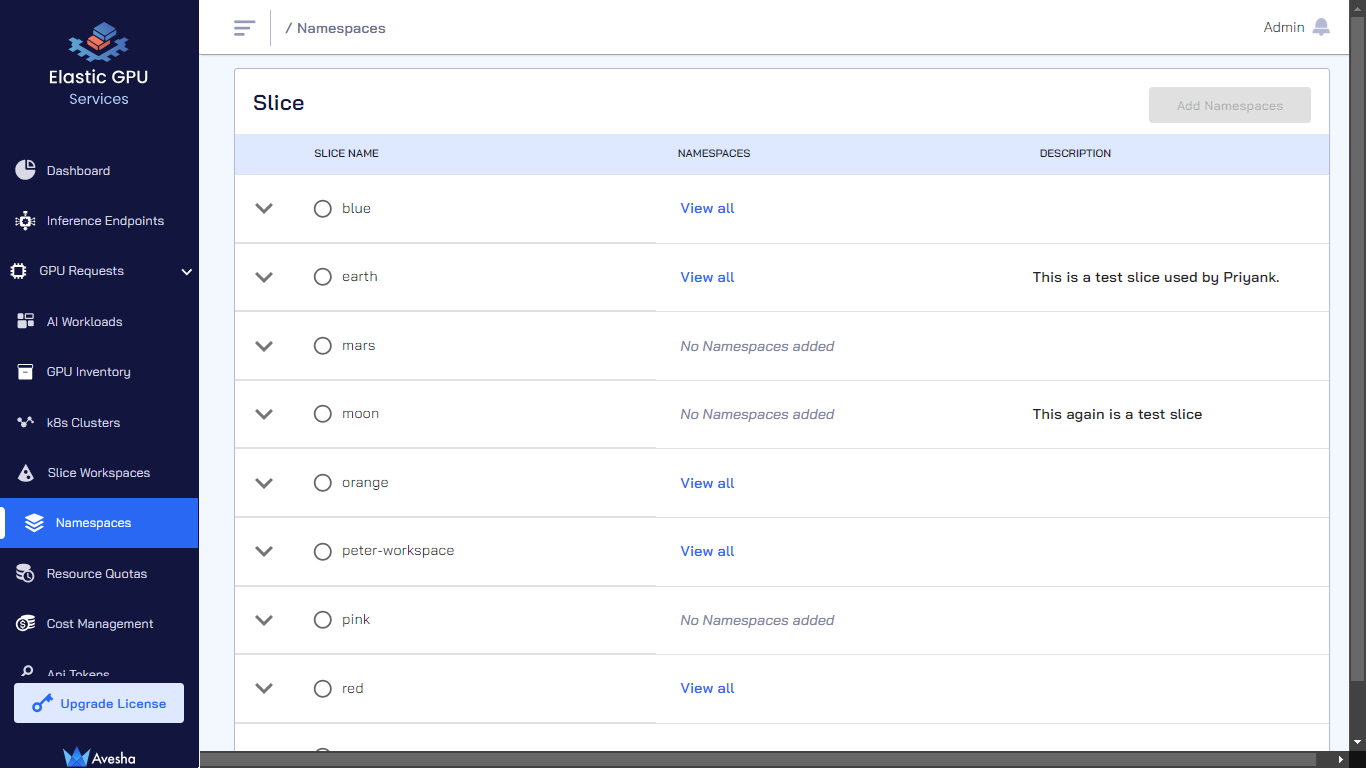
Go to Namespaces on the left sidebar.
-
(Optional) Expand the dropdown menu of each slice to see the clusters, deployment location, and cloud type.
-
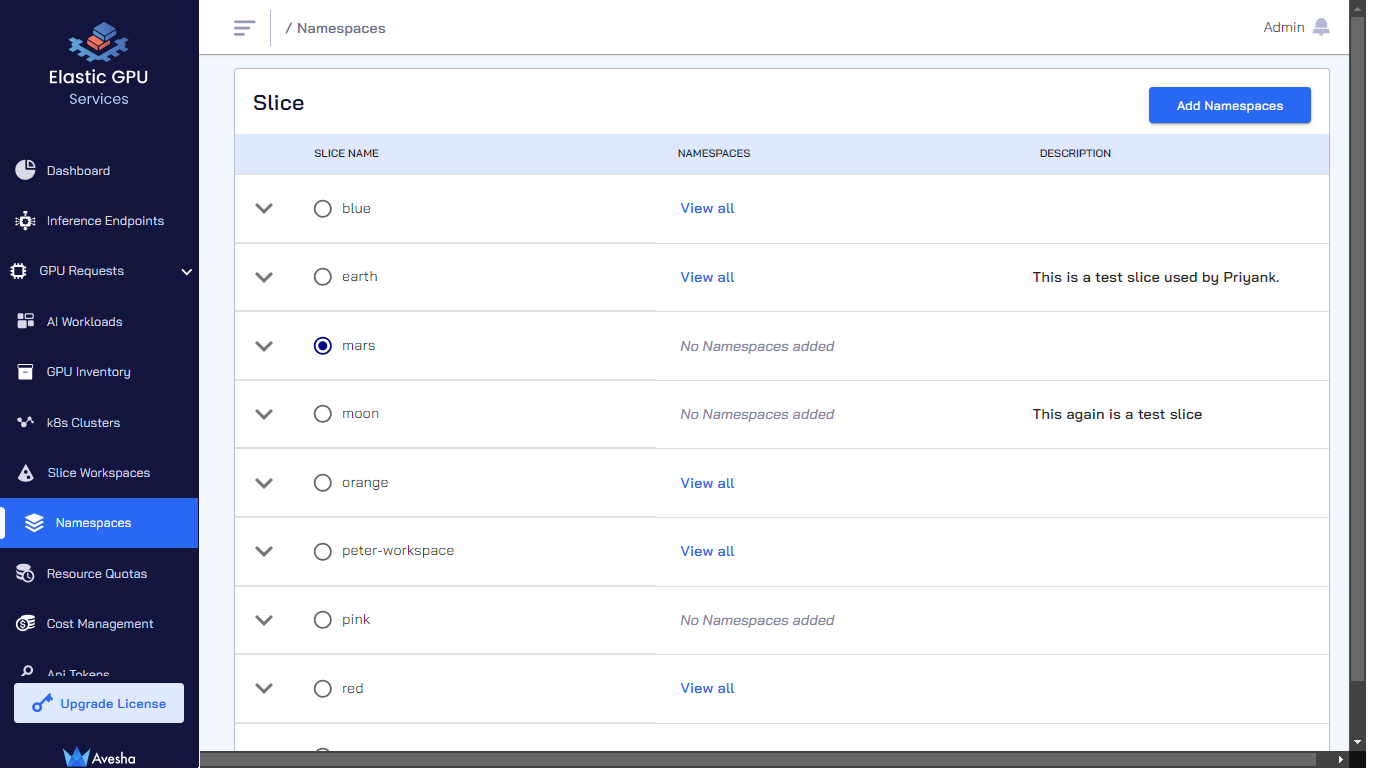
On the Manage Namespaces page, select the slice that you want to add namespaces to.
-
Click Add Namespaces.
-
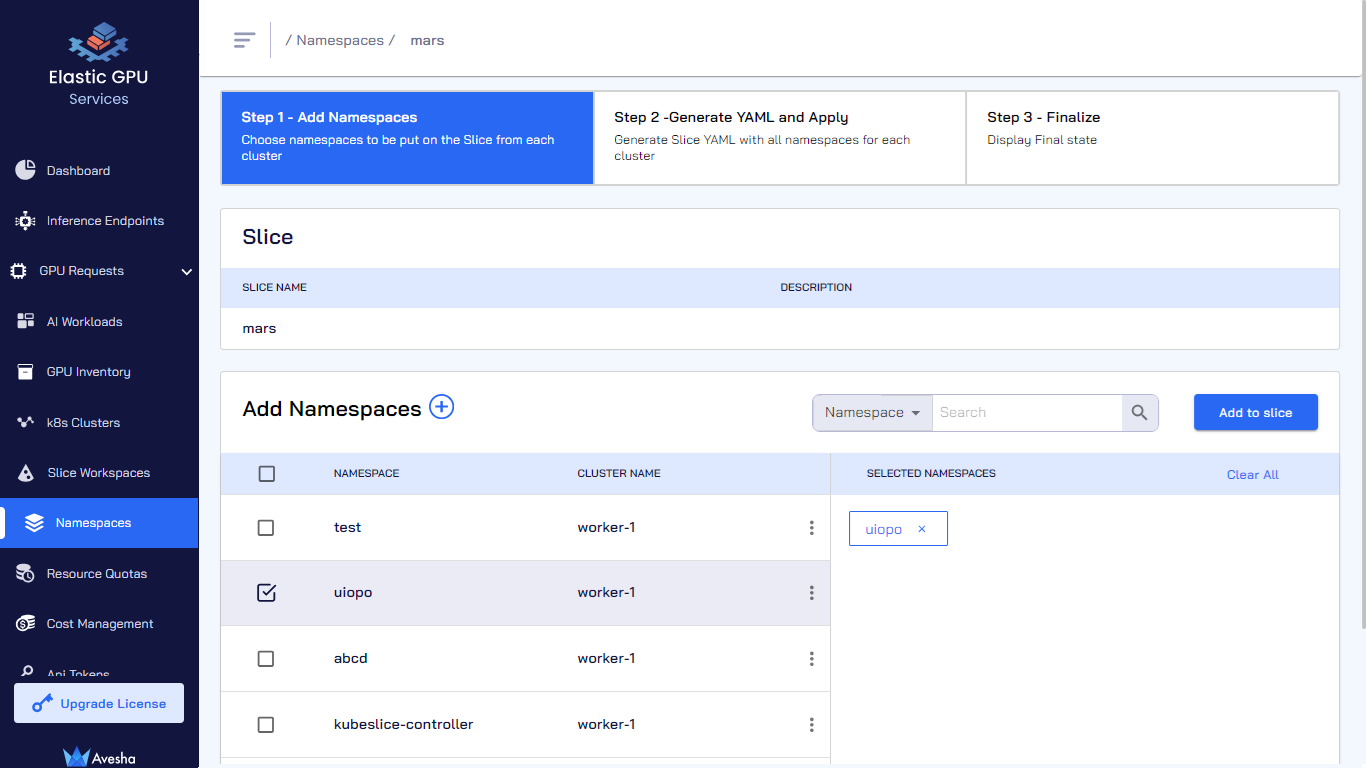
On the Step 1 - Add Namespaces tab, select namespace(s) that you want to add, which appear under Selected Namespaces. You can also search by namespace or cluster in the search bar. On the search bar, click the search by namespace to see the search by cluster option.
-
Click Add to slice.
-
On the Step 2- Generate YAML and Apply tab, towards the bottom of the page, under Code Preview, review the slice YAML file that contains the namespaces that you have just added under
namespaceIsolationProfile.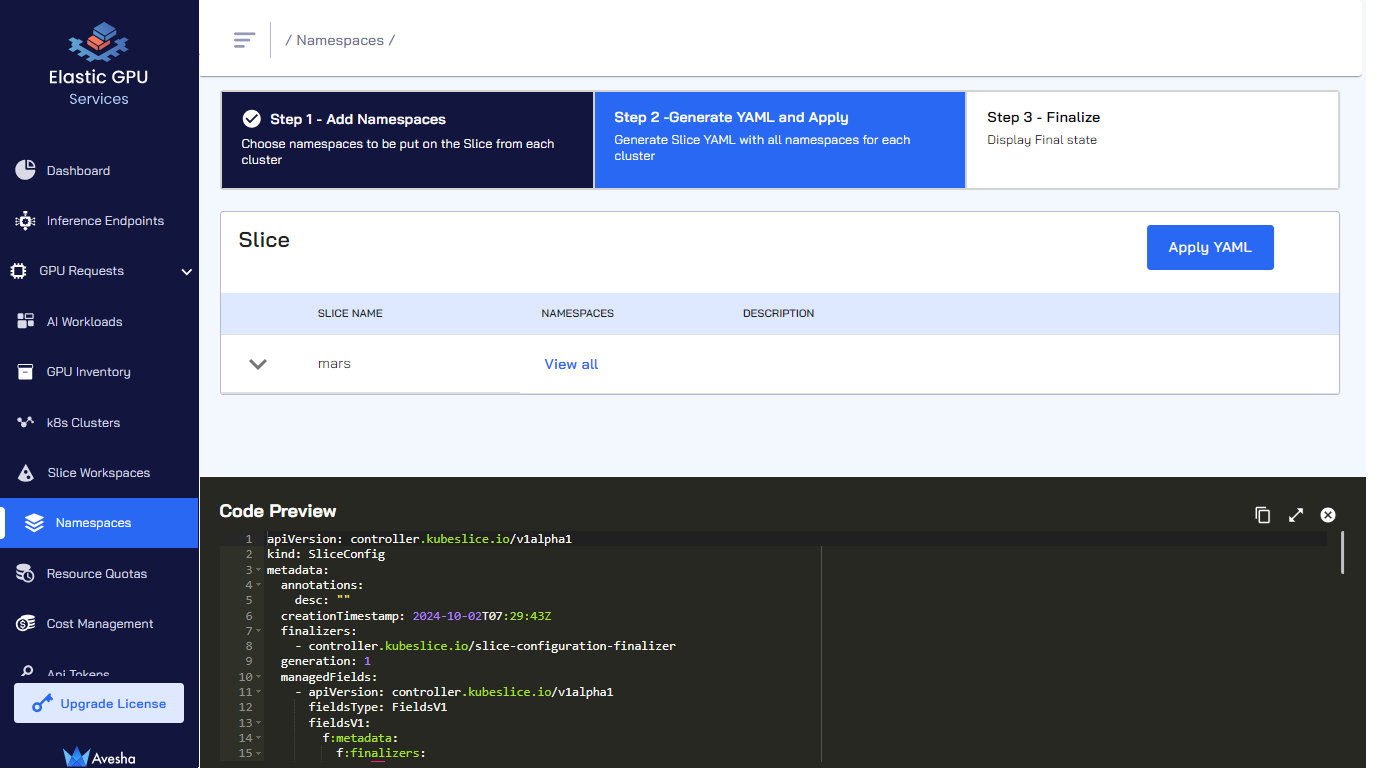
-
Click Apply YAML.
-
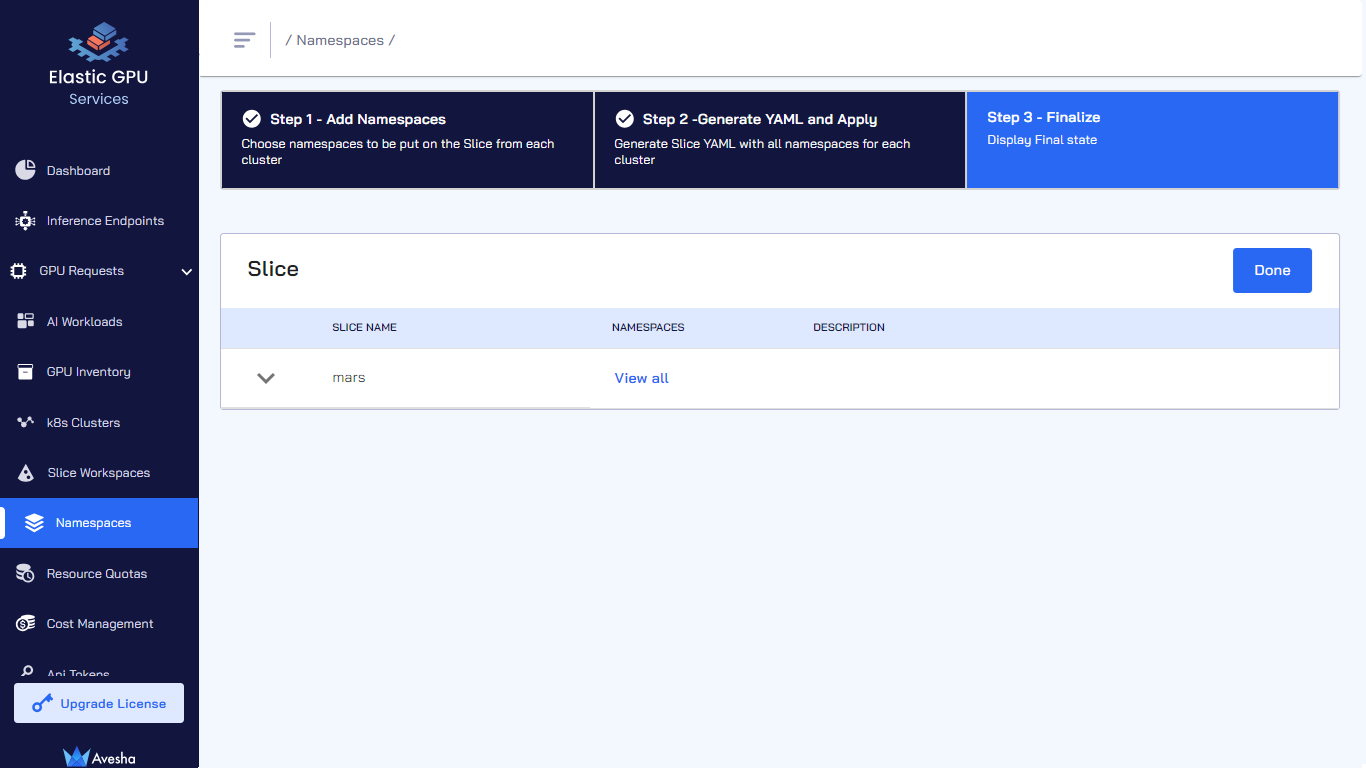
On the Step 3 - Finalize tab, in case if you want to see the namespaces, click View all for the slice.
-
Click Done.
-
On the Namespaces, click View all for the slice to verify the namespaces that you have onboarded.